Epoxy resin is used in many fields, like construction and arts and crafts. It’s amazing because it can change from a liquid to a strong solid. This change, called curing, is key to using epoxy fully. We’ll explore how epoxy hardens, the science behind it, and how to get the best results.
Key Takeaways
- Epoxy curing is a chemical process that transforms liquid resin into a hard, solid material.
- Understanding the role of cross-linking and heat generation is critical for successful epoxy hardening.
- Temperature, humidity, and thickness of the application can greatly affect the curing time.
- Proper mixing ratios, surface preparation, and temperature control are vital to avoid curing problems.
- Hardness testing and troubleshooting can help ensure the final epoxy finish meets your expectations.
Understanding the Basic Chemistry Behind Epoxy Hardening
Epoxy chemistry is really interesting. It shows how these adhesives and coatings turn into hard, durable finishes. The cross-linking reaction is key in this process. It turns the liquid resin into a solid, strong material.
Chemical Components in Epoxy Systems
Epoxy systems have two main parts: the epoxy resin components and the hardener. The resin, often an epoxide, mixes with the hardener, usually an amine or polyamine. This mix starts the curing process.
This chemical reaction creates a strong, durable material. It’s what makes epoxy so good for many uses.
The Role of Cross-linking in Hardening
The cross-linking reaction is what makes epoxy harden. When the resin and hardener mix, they form a network of polymer chains. This network makes epoxy hard and rigid.
This is why epoxy is great for many things. It’s perfect for flooring, coatings, adhesives, and composites.
Heat Generation During Curing
The curing of epoxy is an exothermic process. This means it releases heat as it reacts. This heat can affect how long it takes to cure and the quality of the finish.
It’s important to manage this heat. It helps get the best results, like the right viscosity and hardness.
Learning about epoxy chemistry and cross-linking helps us understand how epoxy changes. This knowledge is key for using epoxy well in many fields and projects.
How Does Epoxy Get Hard: The Complete Process
The change of epoxy from liquid to solid is quite interesting. ZDSpoxy, a top maker of epoxy resin, knows a lot about this. They call it the “epoxy curing stages.”
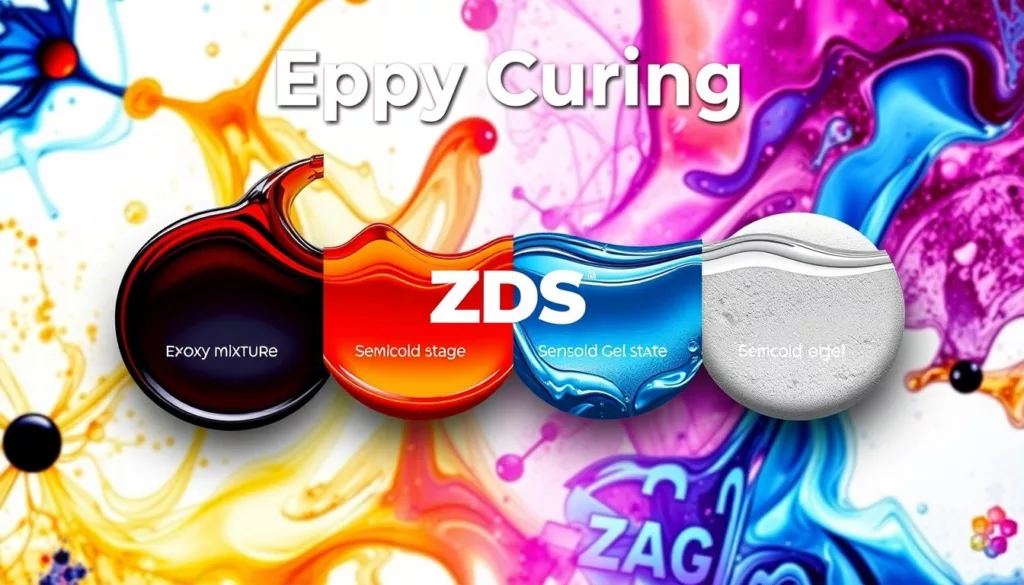
The first step is polymerization. Here, the epoxy and hardener mix to form long chains. This makes the liquid thicker as the molecules link up.
Then, we have gelation. The epoxy turns into a gel. The chains keep linking, making it more solid but not fully hard yet.
The last stage is vitrification. Now, the epoxy is fully hard and strong. It becomes very rigid and hard to bend.
Knowing about these epoxy curing stages is key for a good epoxy project. DIYers and pros can get great results with ZDSpoxy or other epoxy products by understanding this process.
Essential Factors Affecting Epoxy Curing Time
Working with epoxy resins means knowing how to control the curing time. Factors like temperature and humidity play big roles. Understanding these can help you get the best results from your epoxy.
Temperature Impact on Curing
Temperature is key when curing epoxy. Warmer temperatures speed up the process, while cooler ones slow it down. Keeping the temperature right is important for the right cure time.
Humidity Considerations
Humidity also affects epoxy curing. Too much humidity can cause problems, while too little can make it cure too fast. It’s important to control the environment for the best results.
Thickness and Volume Effects
How thick and how much epoxy you use also matters. Thicker or more epoxy takes longer to cure. Using the right techniques can help manage these effects.
“Understanding and managing the essential factors affecting epoxy curing time is key for quality results.”
By paying attention to temperature, humidity, and the epoxy’s properties, you can get a reliable cure. This unlocks the full benefits of your epoxy projects.
Different Types of Epoxy and Their Curing Characteristics
Working with epoxy means knowing the different types and how they cure. From fast to slow, and UV to heat-cured, each has its own benefits and uses. Let’s look at the differences and how they affect your project.
Fast-Curing Epoxy
Fast-curing epoxy is great for quick fixes. It hardens in 5-15 minutes, perfect for urgent repairs. But, it might not last as long as slower types.
Slow-Curing Epoxy
Slow-curing epoxy takes hours or days to dry. But, it penetrates better, making a stronger bond. It’s best for big projects needing extra strength.
UV-Cured Epoxy
UV-cured epoxy hardens under UV light. It’s great for projects where normal curing won’t work, like in electronics. The curing is fast, but UV light control is key.
Heat-Cured Epoxy
Heat-cured epoxy needs heat to cure. It’s used in industries where temperature control is critical. The bond is strong and durable, ideal for tough applications.
Choosing the right epoxy depends on your project’s needs. Consider curing time, stress level, and environment. Knowing each type’s characteristics helps you make the best choice for your work.
| Epoxy Type | Curing Time | Advantages | Disadvantages |
|---|---|---|---|
| Fast-Curing Epoxy | 5-15 minutes | Quick turnaround, ideal for small repairs | May not be as durable or long-lasting |
| Slow-Curing Epoxy | Several hours to days | Better penetration, stronger and more durable | Longer curing time |
| UV-Cured Epoxy | Very fast | Practical for applications where traditional curing is not feasible | Requires careful control of UV light exposure |
| Heat-Cured Epoxy | Varies based on heat | Stronger and more durable, often used in industrial settings | Requires precise temperature control |
Knowing the differences between epoxy types helps you choose the right one for your project. This ensures the best results for your work.
Common Mistakes That Prevent Proper Epoxy Hardening
Getting a perfect epoxy finish requires avoiding common mistakes. Issues like epoxy mixing errors, temperature problems, and surface prep issues can ruin the curing process. These mistakes can also affect the quality of the final product.
Incorrect Mixing Ratios
One big mistake is not mixing the epoxy correctly. It’s important to get the epoxy mixing ratios right for it to harden properly. If you mix it wrong, you might end up with a finish that’s tacky or not as durable.
Temperature-Related Issues
Temperature changes during curing can also cause problems. Temperature-related issues like extreme heat or cold can mess up the chemical reaction. This can lead to curing failures and bad results.
Surface Preparation Problems
Another key factor is proper surface preparation. If you don’t clean the surface well enough, the epoxy won’t stick right. This can weaken the finish and make it not last as long.
By knowing and avoiding these mistakes, you can get a perfect epoxy finish. This will give you a durable and long-lasting result.
Professional Tips for Perfect Epoxy Curing from ZDSpoxy
Getting a perfect epoxy finish is more than just mixing. ZDSpoxy, a top name in epoxy coatings, offers great tips. These tips cover everything from mixing to controlling the environment. They will make your next epoxy project a hit.
Precise Epoxy Mixing
Getting the mix right is key to a great epoxy job. ZDSpoxy suggests using a power drill with a mixing paddle. Make sure to mix for the right time. Wrong mixing can ruin the cure and the finish.
Optimizing Application Techniques
- Apply epoxy in thin, even coats for consistent curing.
- Use a high-quality squeegee or roller to spread the epoxy evenly across the surface.
- Carefully address edges and corners to avoid pooling or uneven coverage.
Environmental Control for Curing
The right environment is vital for epoxy curing. ZDSpoxy says keep the temperature and humidity just right. Extreme temperatures or too much humidity can mess up the cure.
| Characteristic | Optimal Range | ZDSpoxy Recommendation |
|---|---|---|
| Temperature | 70-85°F (21-29°C) | Keep the temperature steady in this range for the best results. |
| Humidity | 30-60% | Make sure the air isn’t too dry or too wet to avoid curing problems. |
Follow ZDSpoxy’s expert advice for perfect epoxy curing every time. Learning the epoxy application techniques and environmental control from them will make your projects look professional. You’ll get top-notch epoxy curing results.
Measuring and Testing Epoxy Hardness
Checking the hardness of epoxy is key for its durability and performance. There are several ways to test epoxy hardness. The Shore durometer and Rockwell hardness test are two common methods used by experts.
Common Hardness Tests
The Shore durometer is a simple and accepted way to measure epoxy hardness. It involves pressing a small indenter into the epoxy and measuring the indentation depth. This shows the epoxy’s hardness and resistance to indentation.
The Rockwell hardness test also measures hardness. It uses a steel ball or cone to see how deep it goes into the epoxy under a certain load. This test gives a precise hardness value, showing how well the epoxy resists indentation and deformation.
When to Consider Reapplication
- If epoxy hardness testing shows the epoxy isn’t hard enough, you might need to reapply epoxy.
- Issues like bad mixing, not curing long enough, or bad environment can stop epoxy from getting hard.
- If this happens, talking to a pro or the epoxy maker is wise. They can tell you if you need to reapply the epoxy for a strong surface.
Knowing about epoxy hardness testing and when to reapply epoxy helps your projects last longer and be harder.
Troubleshooting Epoxy Curing Problems
Working with epoxy can sometimes lead to curing problems. Issues like soft spots, tacky surfaces, and bubbles in the epoxy are common. Knowing how to solve these problems is key to a perfect finish. We’ll cover the most common epoxy curing problems and offer solutions to fix them.
Soft Spots in Cured Epoxy
Soft spots in cured epoxy usually come from bad mixing or wrong resin and hardener ratios. This can cause the epoxy not to harden fully, making it soft. To fix it, sand the area and apply more epoxy, following the mixing instructions closely.
Tacky Surface Finish
A tacky or sticky surface after epoxy curing can be due to not curing it enough or high humidity. It might also happen if you use too much epoxy or apply it too thick. To fix a tacky surface, lightly sand it and apply a thin layer of epoxy. Make sure it cures fully before using it.
Bubbles in Cured Epoxy
Bubbles in cured epoxy are common but easy to fix. They often appear because of air trapped during mixing or applying epoxy over uneven surfaces. To get rid of bubbles, use a heat gun or a propane torch to gently warm the surface. This will help pop the bubbles and smooth out the finish.
Remember, the secret to avoiding epoxy curing issues is in the details. Pay attention to surface prep, mixing, and application. With these tips, you’ll be able to achieve a flawless epoxy finish on your projects.
“The key to successful epoxy curing is attention to detail and a willingness to troubleshoot any issues that arise.”
Safety Considerations During Epoxy Curing
When working with epoxy, it’s important to be careful. Epoxy can be harmful if not handled properly. It releases harmful chemicals during curing, which can be dangerous.
Proper Ventilation Requirements
Good air flow is key when using epoxy. Work in a place with lots of air, like a room with open windows. Using a fan can help keep the air fresh.
This keeps you safe from breathing in harmful fumes. It makes your workspace safer.
Personal Protective Equipment
Wearing the right gear is essential when working with epoxy. This includes:
- Chemical-resistant gloves to protect your hands from the epoxy.
- Goggles or safety glasses to keep your eyes safe from splashes.
- Respiratory protection, like a mask, to avoid breathing in harmful particles.
By following these safety steps, you can work with epoxy safely. This protects your health and the environment.
“Prioritizing safety when working with epoxy is not only responsible but can also save you from future health problems.”
Conclusion
The epoxy curing process is key to successful projects. Knowing the chemistry, factors that affect curing time, and common mistakes helps. Follow ZDSpoxy‘s professional tips and stay safe.
Whether in aerospace, automotive, marine, or construction, this guide is invaluable. Use what you’ve learned to achieve successful epoxy application every time.
Epoxy curing is complex but fascinating. Mastering it opens up new possibilities. We hope this article helps you elevate your epoxy projects. Happy curing!
FAQ
What is the chemical reaction that occurs when epoxy resin and hardener are mixed?
Mixing epoxy resin and hardener starts a chemical reaction called cross-linking. This reaction makes the mixture strong and hard by bonding molecules together.
How does the heat generated during epoxy curing affect the process?
Epoxy curing is an exothermic reaction, which means it produces heat. This heat speeds up the cross-linking process, leading to a quicker and more complete cure.
What are the key stages of the epoxy hardening process?
The epoxy hardening process has three main stages. First, polymerization happens when the resin and hardener mix and bond. Then, gelation occurs as the mixture turns from liquid to gel-like. Lastly, vitrification is when it fully hardens into a solid.
How do temperature and humidity affect epoxy curing time?
Temperature and humidity greatly affect epoxy curing time. Higher temperatures speed up curing, while lower temperatures slow it down. Higher humidity also makes curing faster.
What are the different types of epoxy and their unique curing characteristics?
There are many types of epoxy, each curing differently. Fast-curing epoxies set quickly, while slow-curing ones take longer. UV-cured epoxies need ultraviolet light, and heat-cured epoxies need heat to start curing.
What are some common mistakes that can prevent proper epoxy hardening?
Mistakes like using the wrong mixing ratio, exposing epoxy to temperature changes, and not preparing the surface properly can prevent proper hardening.
How can I measure and test the hardness of cured epoxy?
You can use methods like the Shore durometer and Rockwell hardness tests to measure epoxy hardness. These tests show if the epoxy has cured correctly and if it needs reapplication.
How can I troubleshoot common epoxy curing problems?
Troubleshooting common problems like soft spots, tacky surfaces, and bubbles involves identifying the cause. This could be improper mixing, temperature changes, or surface contamination. Then, take the right action to fix it.
What safety precautions should I take during the epoxy curing process?
Always ensure good ventilation to manage VOC emissions. Wear protective gear like gloves, goggles, and respiratory protection when working with epoxy to stay safe.

