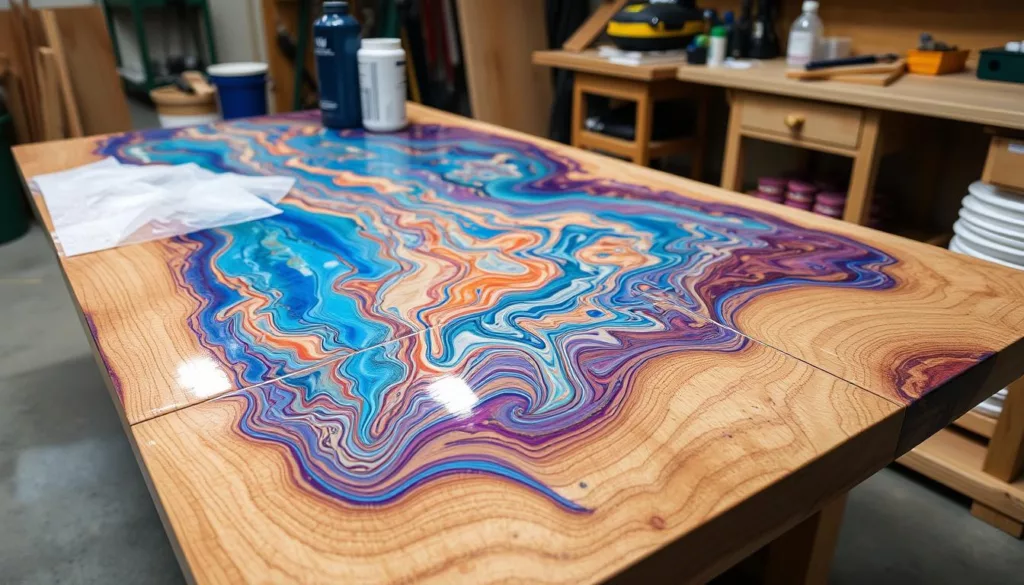
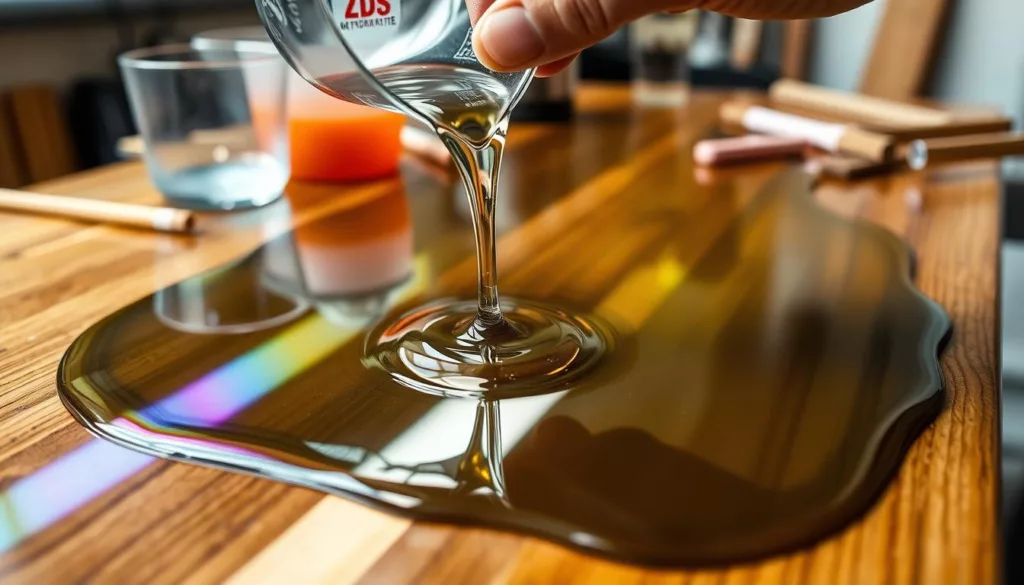
Turning an ordinary tabletop into a stunning, glossy masterpiece is easier than you think. Whether it’s an old wooden table or a plain surface, learning to apply epoxy can change everything. In this guide, we’ll show you how to epoxy a tabletop with ZDSpoxy products. Get ready to make your table look amazing and impress your guests.
Key Takeaways
- Discover the benefits of using epoxy resin for your tabletop project
- Learn about the different types of epoxy and how to choose the right one for your table material
- Understand the essential tools and materials needed to successfully epoxy a tabletop
- Explore proper workspace preparation and safety measures to ensure a seamless DIY experience
- Follow step-by-step instructions for achieving a flawless epoxy finish on your tabletop
Understanding Epoxy and Its Benefits for Tabletops
Epoxy resin is a top pick for making ordinary tabletops into beautiful, lasting surfaces. It’s versatile and offers many benefits for DIY table projects. Let’s look at the different epoxy types for various table materials and why epoxy is great for your tabletop.
Types of Epoxy for Different Table Materials
Not all epoxy resins are the same. You need to pick the right one for your tabletop material for a perfect finish. ZDSpoxy has a wide range of epoxy products for wood, metal, and concrete tables.
- For wooden tabletops, ZDSpoxy Wood Epoxy
- If you have a metal table, ZDSpoxy Metal Epoxy is the perfect solution, with superior adhesion and a smooth, uniform appearance.
- For concrete or stone tabletops, ZDSpoxy Concrete Epoxy is the ideal option, delivering a durable, high-gloss finish that protects the surface from wear and tear.
is a top choice, providing a clear, glossy finish that enhances the natural beauty of the wood.
Why Choose Epoxy for Your Table Project
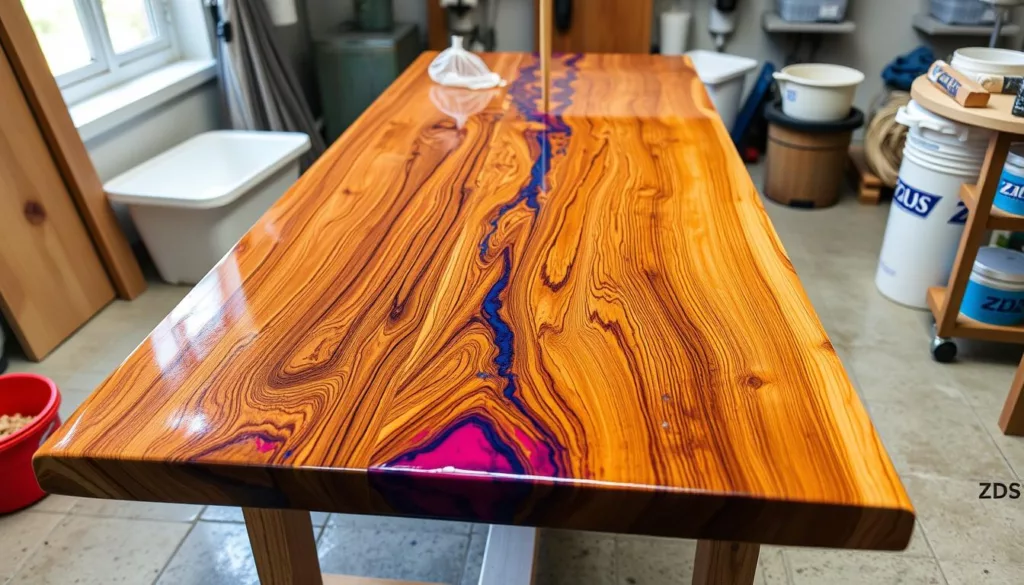
Epoxy resin is a great choice for tabletops. It’s very durable and resists scratches, stains, and heat. It also gives a glossy, seamless finish that can make your table look professional.
“Epoxy resin is a game-changer for tabletops, with unparalleled durability and a stunning, professional-looking finish.”
ZDSpoxy Product Selection Guide
We’ve made a selection guide to help you find the perfect ZDSpoxy product for your table project. It shows the key features and benefits of each ZDSpoxy epoxy resin. This makes it easy to choose the right one for your table material and project needs.
With so many ZDSpoxy products to choose from, you can be sure to find the right epoxy resin. It will transform your tabletop and enhance your living space’s design.
Essential Tools and Materials Needed
Starting an epoxy tabletop project needs the right tools and materials. You’ll need epoxy application tools, mixing containers, and protective gear. Luckily, ZDSpoxy has everything you need.
First, you need to get the right tools. This includes:
- Epoxy resin and hardener
- Stir sticks or paint mixers for thorough blending
- Disposable cups or containers for mixing the epoxy
- Foam brushes, squeegees, or rollers for even application
- Propane or butane torches to eliminate air bubbles
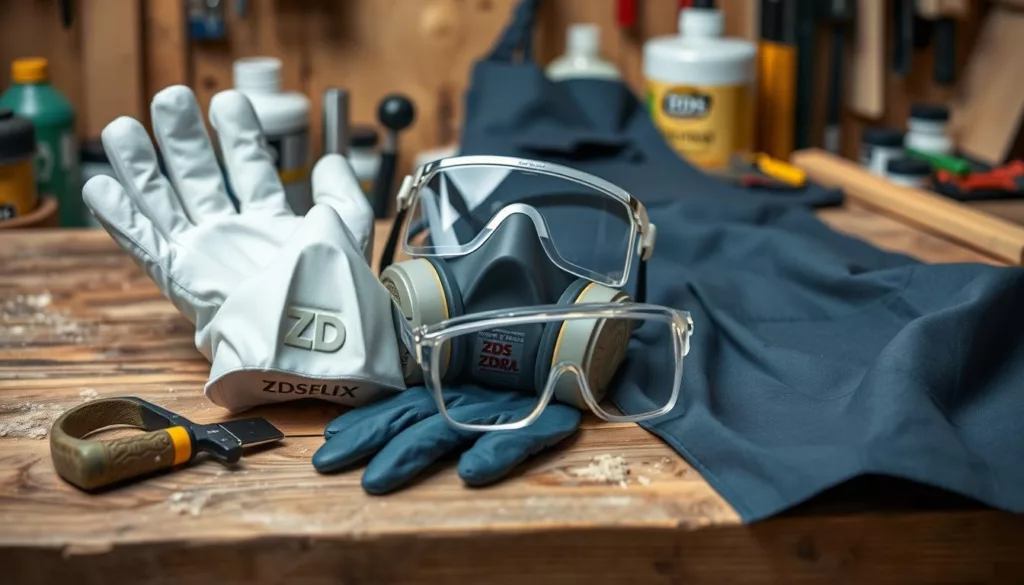
Also, you must have the right protective gear for safety. This includes:
- Nitrile or latex gloves to protect your hands
- Safety goggles to shield your eyes from splashes
- A respirator or face mask to filter out any fumes
- Coveralls or a smock to keep your clothing clean
The quality of your ZDSpoxy supplies is key. Choose reliable products for the best results.
“Preparation is the key to a flawless epoxy tabletop. Gather all the necessary tools and materials beforehand to ensure a smooth and efficient application process.”
Preparing Your Workspace and Safety Measures
Before starting your epoxy tabletop project, make sure your workspace is safe and organized. It’s key to follow epoxy safety steps for a smooth process.
Proper Ventilation Requirements
Epoxy resins release harmful VOCs when curing. Keep your area well-ventilated. Open windows, use fans, or set up an exhaust system. This will keep your space safe and comfy, as ventilation guidelines from ZDSpoxy suggest.
Personal Protection Equipment
- Wear PPE like gloves, goggles, and a mask to avoid skin contact and inhaling fumes.
- Wear long sleeves and pants to protect against epoxy spills.
- Make sure your workspace setup lets you easily get to safety gear.
Surface Protection and Containment
Use a tarp or plastic sheet to cover your work area. This will catch spills and make cleanup simple. Also, have a plan for disposing of used materials and waste.
By following these safety steps and ZDSpoxy’s advice, you’ll have a safe and efficient workspace for your project.
How to Epoxy a Tabletop
Getting the epoxy application process right is essential for a beautiful tabletop. Whether it’s wood, glass, or metal, these tabletop epoxy techniques will help you every step of the way.
First, clean and sand the surface well for better adhesion. Then, mix the epoxy resin and hardener as the manufacturer suggests, like ZDSpoxy. The ZDSpoxy application guide advises pouring the mix in sections. Use a squeegee or brush to spread it evenly.
- Remove air bubbles by gently heating the surface with a heat gun or torch.
- Let the epoxy cure for the time the product recommends.
- Lightly sand the surface after curing for a smooth finish.
- Apply a final epoxy coat for a glossy finish.
| Key Epoxy Application Tips | Recommended Techniques |
|---|---|
| Surface Preparation | Thorough cleaning, sanding, and sealing of porous surfaces |
| Mixing Epoxy | Carefully follow manufacturer’s instructions for the right ratio and mixing method |
| Applying Epoxy | Pour in sections and use a squeegee or brush to spread evenly |
| Bubble Removal | Use a heat gun or torch to pass over the surface and pop any air bubbles |
| Curing Time | Allow the epoxy to cure for the recommended duration before sanding and applying a final coat |
“The key to a professional-looking epoxy tabletop is attention to detail throughout the application process.”
By using these tabletop epoxy techniques and the ZDSpoxy guide, you can make any surface into a beautiful, durable tabletop. It will be the highlight of your space.
Surface Preparation Techniques
Proper surface preparation is key when applying epoxy to a tabletop. You need a smooth, clean, and uniform surface for the epoxy to stick well. Let’s look at the important steps for preparing the table surface.
Cleaning and Sanding Methods
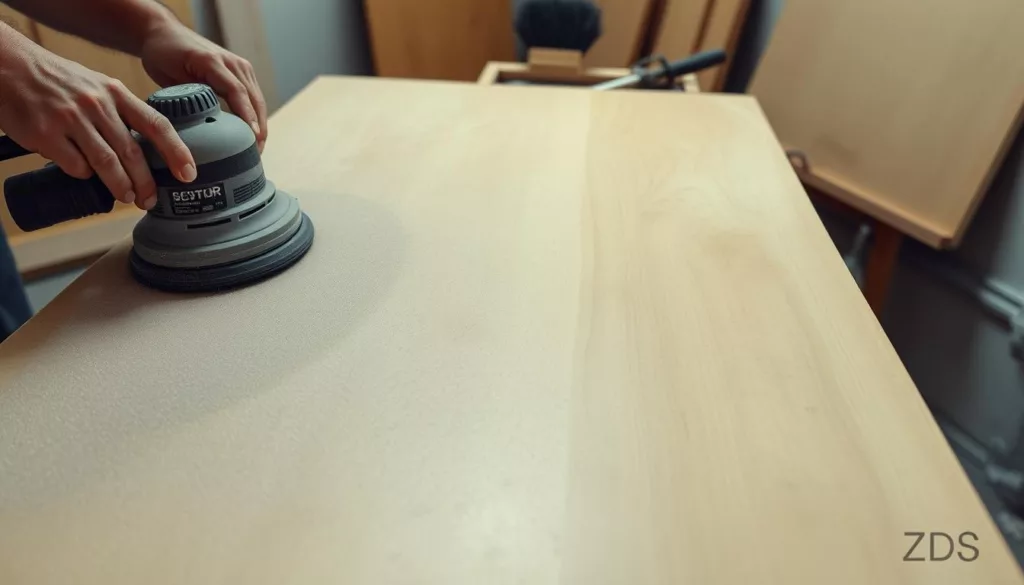
Begin by cleaning the table surface well. Use a damp cloth or vacuum to remove dirt, dust, and debris. After cleaning, sand the surface. Sanding makes the surface rough, which helps the epoxy stick better.
Use a medium-grit sandpaper (120-150 grit) and sand in the wood grain direction. Sand the whole surface, including edges and corners, for a uniform finish.
Dealing with Imperfections
Every tabletop has imperfections like cracks, holes, or uneven surfaces. Use wood filler or epoxy putty to fix these. After it dries, sand the area until it’s even with the rest of the surface.
Sealing Porous Surfaces
For porous wood like oak or pine, sealing is necessary before applying epoxy. This prevents the epoxy from soaking into the wood, giving a smooth finish. Apply a wood sealer or sanding sealer and let it dry before using epoxy.
| Surface Preparation Technique | Purpose |
|---|---|
| Cleaning and Sanding | Removes dirt, dust, and creates a rough texture for better epoxy adhesion |
| Dealing with Imperfections | Fills and smooths cracks, holes, and uneven surfaces |
| Sealing Porous Surfaces | Prevents epoxy absorption and ensures a smooth, even finish |
By following these steps, you’ll get a great base for epoxy application. This ensures your tabletop looks beautiful and lasts long. Paying close attention to detail here is vital for professional results.
Mixing and Applying the Epoxy
Getting the epoxy mix right is key for a top-notch tabletop. ZDSpoxy shares expert tips for a bubble-free finish:
- Measure the Epoxy Mixing Ratio: Measure the epoxy resin and hardener as the maker says. The right epoxy mixing ratio is vital for proper curing.
- Stir Slowly and Thoroughly: Mix the epoxy gently for the time suggested. Be careful not to get air bubbles in the mix.
- Choose the Right Epoxy Application Methods: Pour the epoxy on the tabletop. Use a squeegee or roller to spread it evenly. Work in thin layers to avoid drips.
- Leverage ZDSpoxy’s Application Tips: Use the brand’s special methods. Control the pour rate and use a propane torch to remove air bubbles for a pro finish.
| Epoxy Mixing Ratio | Epoxy Application Methods | ZDSpoxy Application Tips |
|---|---|---|
| Measure components precisely | Pour, spread with squeegee/roller | Control pour rate, use propane torch |
By following these steps and using ZDSpoxy’s expertise, you’ll make a beautiful, durable epoxy tabletop.
Troubleshooting Common Epoxy Issues
Working with epoxy resin can be a fun DIY project. But, even pros might face some problems. Luckily, the team at [https://epoxyresinfactory.com/floor-epoxy-resin-manufacturer/] has a detailed guide. It helps make your tabletop project perfect.
Dealing with Bubbles
Air bubbles can ruin the smooth finish of your epoxy. To avoid them, mix the epoxy well and pour it slowly. Use a roller or brush to remove any air bubbles.
If bubbles do show up, you can fix them with a heat gun or propane torch. Just be careful not to burn the surface.
Fixing Uneven Surfaces
Getting a level epoxy tabletop can be hard. But, there are ways to make it work. First, make sure your surface is ready and even before applying the epoxy.
If you see uneven spots after pouring, sand them down. Or, add more epoxy to even it out.
Managing Cure Times
Epoxy resin can be tricky to cure. Temperature and humidity matter a lot. Follow the cure times and conditions suggested by the manufacturer.
If curing is slow or uneven, try changing the environment. Or, look into a different epoxy formula.
By tackling these common epoxy troubleshooting issues, you can make your tabletop look great. With patience and the right methods, your bubble removal and epoxy curing problems will be solved quickly.
Finishing Touches and Maintenance
Now that your epoxy tabletop is done, it’s time to add the final touches. You’ll also learn how to keep its glossy finish looking great. These easy steps will help your epoxy table stay beautiful for years.
Adding the Finishing Touches
After the epoxy cures, lightly sand the surface with fine-grit sandpaper. This will make it smooth and polished. Make sure to remove any dust or debris before moving on.
To protect your table, apply a clear topcoat or sealant. ZDSpoxy has top-notch maintenance products for epoxy surfaces. Their ZDSpoxy Tabletop Sealer will keep your table looking new for longer.
Maintaining Your Epoxy Tabletop
Proper care and maintenance are essential for keeping your epoxy table looking great. Here are some tips to help:
- Clean the surface regularly with a mild, non-abrasive cleaner and a soft cloth or sponge.
- Avoid harsh chemicals, solvents, or abrasive cleaners, as they can harm the epoxy finish.
- Quickly clean up spills or stains to prevent them from setting in.
- Keep the surface away from direct sunlight to avoid discoloration.
- Reapply a topcoat or sealant every few years to keep the glossy finish.
By following these simple steps for epoxy table care and maintaining epoxy surfaces, you can enjoy your beautiful ZDSpoxy-coated table for many years.
Remember, investing in high-quality ZDSpoxy maintenance products can greatly help preserve your epoxy tabletop’s look and longevity.
Conclusion
We hope you feel ready to start your epoxy tabletop projects. You now know how epoxy can change your space. It’s a great way to make your area look and feel amazing.
Whether you’re experienced or new to DIY, ZDSpoxy has what you need. Their products are top-notch and they care about their customers. This makes ZDSpoxy a go-to choice for many.
Now, it’s time to get started. Get your tools ready and set up your workspace. This guide will help you make a unique table. It will impress everyone and bring you joy for years.
Don’t hesitate to share your success stories. They can inspire others to try their own epoxy projects. Let’s all enjoy the beauty of DIY epoxy creations together.
FAQ
What types of epoxy are best for different table materials?
ZDSpoxy has a variety of epoxy resins for different materials. You can find the right one for your tabletop, whether it’s wood, glass, or metal. Their guide helps you make the perfect choice.
Why should I use epoxy for my table project?
Epoxy resin makes your tabletop durable and shiny. It’s also easy to clean and maintain. This makes it a top pick for DIY projects.
What tools and materials do I need for an epoxy tabletop project?
You’ll need mixing containers, tools like rollers or squeegees, and protective gear. ZDSpoxy has everything you need for a successful project.
How do I properly prepare my workspace and take safety precautions?
Safety is key when working with epoxy. Make sure your workspace is well-ventilated and use the right protective gear. ZDSpoxy offers tips for a safe workspace.
What are the key steps in the epoxy application process?
First, prepare your surface by cleaning and sanding. Then, mix the epoxy as instructed. Apply it in thin coats. ZDSpoxy’s guide shows you how to get professional results.
How do I deal with common epoxy issues like bubbles or uneven surfaces?
ZDSpoxy has tips for common problems like bubbles and uneven surfaces. Their knowledge ensures your finish is smooth and high-quality.
How do I maintain and care for my epoxied tabletop?
To keep your tabletop looking great, use ZDSpoxy’s cleaning and care products. They help maintain the beauty and durability of your epoxy finish.

