Can You Waterproof Without Demolition? When “Over-Coating” Works
Is it truly possible to waterproof your space without breaking or demolishing existing surfaces? The short answer: Yes, but only when strict conditions are met. For many property owners, “waterproof without demolition” makes renovations faster, less messy, and more affordable. However, skipping the tear-out phase only delivers lasting results if you pay careful attention to substrate health, preparation, and product selection. Let’s dive into the engineered criteria, application realities, and expert-backed advice to help you make a smart, risk-free decision for waterproofing over existing surfaces.
Summary of Conditions: When Waterproofing Without Demolition Works

Successful over-coating relies on five essential substrate and site conditions. Without meeting these, the risk of premature failure, peeling, or moisture problems increases significantly.
- Base Must Be Structurally Sound
- Surface Can Be Mechanically Sanded or Ground
- Thorough Cleaning Is Achievable (No Hidden Dirt/Oil)
- No Widespread Hollowing or Debonding (No major “空鼓” or loose tiles)
- Layered Application Methods Are Possible—No shortcuts
Missing even one requirement raises the likelihood of waterproofing failure. When possible, get an expert assessment before committing to any method.
Why Demolition Is Traditionally Recommended for Waterproofing
Historically, demolition guarantees full access to the substrate, removal of flaws, and ensures new waterproof systems adhere correctly. Demolishing old tiles, paint, or damaged concrete exposes weaknesses—helping avoid hidden problems like chronic leaks, substrate decay, or inadequate bonding.
Waterproof Over Existing Surface: Definition and Methods
“Waterproof over existing surface” means applying specialized coatings, membranes, or sealers directly onto current flooring or wall substrates—such as old tiles, terrazzo, or concrete—without tearing them out. Techniques vary, but always depend on mechanical surface prep and compatibility with the existing material.
| Method | Compatible Surfaces | Prep Required | Pros | Cons |
|---|---|---|---|---|
| Epoxy/Polyurethane Overlays | Ceramic, Concrete, Terrazzo | Grinding, Cleaning | Industrial strength, Long-lasting | Not for unstable bases |
| Polyaspartic Membranes | Tile, Stone | Deep cleaning | Fast curing, UV resistance | May highlight tile pattern |
| Water-Based Acrylics | Older tiles | Degreasing, Repair | Simple, Odorless | Shorter lifespan |
Five Critical Requirements for Over-Coating Success
Base Must Be Structurally Sound
Any hollow, loose, or weak section in the underlying surface will compromise the waterproof layer above. If the base flexes or shifts, even high-performance coatings may crack, bubble, or peel.
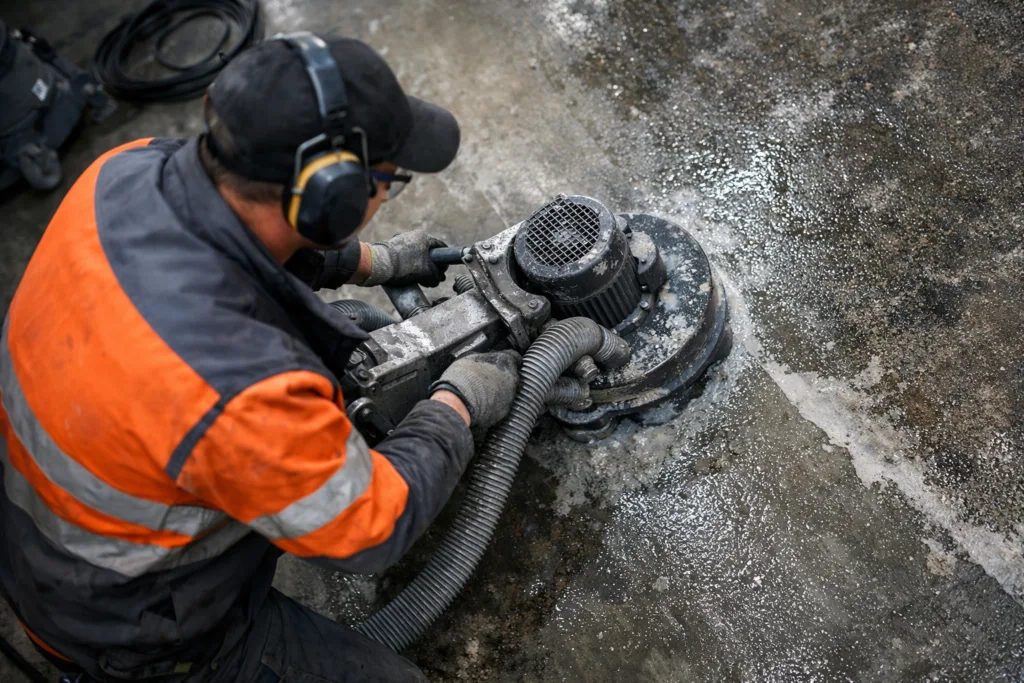
Surface Can Be Mechanically Sanded or Ground
Mechanical abrasion is essential. The surface must allow for grinding or roughening to improve coating adhesion. Smooth glazed tiles, glass mosaics, or acrylic overlays are not ideal—unless specialty primers are used.
For more insights into prepping tiled surfaces for waterproofing, see kitchen bathroom tile waterproofing techniques.
Thorough Cleaning Is Achievable
Oils, dust, mold, or soap film will block adhesion. The base must support deep degreasing, high-pressure washing, and ideally chemical cleaners. Any trapped substance remains a weak point under the coating.
No Widespread Hollowing or Debonding
If you tap the floor and hear hollow sounds in large areas, it means substrates are detached. Coating over these risks future movement, cracking, and water ingress.
Layered Application Methods Are Possible
Top-tier waterproofing relies on multi-layer systems: primer, mid-coat, and topcoat—each with specific drying and re-coating times. Rushing or combining layers will short-circuit protection. For projects with complex surfaces, layered builds offer best results.
Scenarios When Waterproofing Without Demolition Is Not Recommended
Certain conditions call for full demolition before waterproofing to prevent costly failures. Avoid “over-coating” in the following:
- Extensive hollow or detached tiles across large areas
- Severe substrate disintegration, powdering, or crumbling
- Structural leaks (below-slab water ingress, cracks not repaired)
- Pervasive mold or trapped moisture sources
- Multiple failed previous waterproofing attempts
Why These Scenarios Demand Demolition
Attempting to waterproof over such issues means ignoring root causes. For example, loose tiles and failed waterproofing often point to deeper movement or moisture trouble. Demolition enables correct repair and restores a stable base for new protection.
Evaluating Existing Surfaces for Over-Coating: Step-by-Step Guide
- Inspect all floor or wall areas for hollow sounds (tap test)
- Check for powdering, cracks, and stains
- Attempt surface grinding in a test area
- Perform cleaning and adhesion tests with tape
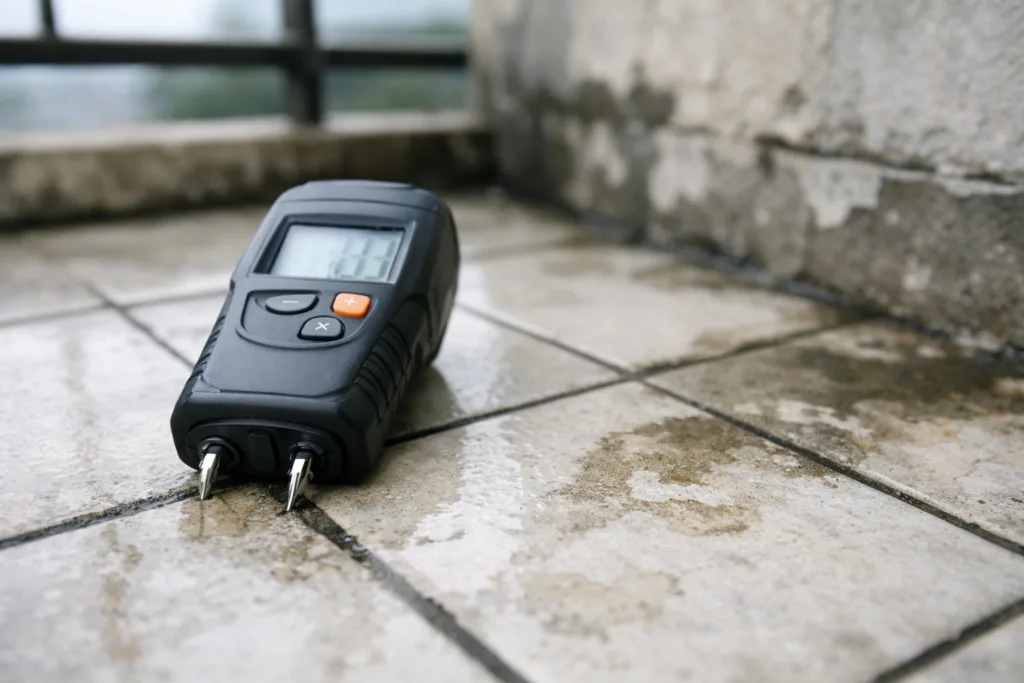
- Verify moisture levels with a meter
- Consult a coatings expert with site photos
Expert Advice: When Can You Skip Demolition?
If all five hard conditions are clearly met, over-coating can be safe, effective, and durable. For professional-grade results and lower risk:
- Use industrial-strength overlays (e.g., epoxy, polyurethane, polyaspartic)
- Apply products in strict layers with correct cure time
- Document substrate checks and prep steps
- Work with trusted materials—avoid no-name brands
To explore proven renovation options for your floors, see floor renovation approaches designed for lasting waterproof performance.
How Surface Preparation Determines Waterproofing Success
Industry studies and field experience confirm: mechanical preparation is the single most powerful factor behind adhesion and waterproofing longevity. Grinding removes surface slickness, opens pores, and lets primers penetrate.
For outdoor areas, terrace, balcony, and outdoor floor projects often require extra careful prep—UV, weather, and foot traffic can reveal base weaknesses quickly.
What Materials Suit Waterproofing Over Existing Surfaces?
- Epoxy Resins: Highest durability; needs strict substrate prep
- Polyurethane Coatings: Moderate flexibility; handles slight movement
- Polyaspartic Systems: Fast cure, UV resistant; ideal for time-sensitive sites
- Acrylic Sealers: Quick, simple, but lower wear resistance
Each chemistry has unique strengths. Always consult technical data sheets and manufacturers for compatibility—including VOC, mix ratio, and cure times.
Layer Build-Up: Why One-Coat Solutions Rarely Succeed
Engineering experts stress the importance of multi-layer systems. Each coat (primer, mid, topcoat) performs specific roles: binding, bridging pores, UV protection, and abrasion resistance. Attempting a rapid, single-coat fix leads to future problems, from peeling to moisture seepage.
Site Reality: Application Challenges for Over-Coating
On real job sites, several issues impact over-coating success:
- Temperature swings may slow curing
- High humidity affects adhesion, especially for epoxy
- Poor ventilation delays drying (VOC control matters)
- Batch mixing errors (wrong ratios reduce performance)
ZDSpoxy engineers recommend posting mixing and prep steps on-site—helping teams stay disciplined and avoid shortcuts.
Case Study: Waterproofing Over Old Tiles Without Demolition
In a school renovation, ceramic tiles showed no widespread hollowing and were well-bonded. Grinding with diamond pads ensured roughness, deep cleaning removed soap films, and a three-layer polyaspartic system was applied. The result? Leak-free protection for five years, even under heavy use.
Risk Management: What Can Go Wrong?
Common problems from skipping demolition include:
- Peeling or blistering due to hidden contaminants
- Coating failure over loose or hollow areas
- Fast wear on soft, unstable substrates
- Failure to cure in humid environments
Performance Metrics for Waterproof Over-Coating
| Property | Epoxy | Polyurethane | Polyaspartic |
|---|---|---|---|
| Adhesion (MPa) | >2 | 1.5-2.5 | 2-3 |
| Abrasion Resistance | High | Medium | Very High |
| UV Resistance | Limited | Good | Excellent |
| Cure Time | 8+ hrs | 6-24 hrs | 1-3 hrs |
The Cost Factor: Savings vs. Risk Without Demolition
Skipping demolition trims expense, cuts labor, and shortens the project timeline. However, the potential cost of failures and redo jobs may outweigh initial savings—unless you control for every critical substrate issue.
Long-Term Durability: How Over-Coating Compares
Well-prepared over-coating systems can last 5–10 years in residential spaces, and 6–12 years for commercial settings—if the underlying base is stable and moisture is controlled. However, large structural shifts or chronic leaks will always shorten the system’s lifespan.
Moisture Detection: Your Number One Diagnostic Tool
Using a reliable moisture meter is essential before and after cleaning. Residual water below surfaces is a hidden killer for waterproofing—especially in humid climates or below-grade surfaces.
DIY vs Professional Waterproofing Without Demolition
Small bathrooms and kitchens may allow skilled DIYers to perform over-coating, provided preparation standards are upheld. For larger commercial areas, or where high-value contents are at risk, always consult a professional team for on-site diagnosis and specification.
Special Considerations for Kitchens, Bathrooms, Balconies
Wet areas demand maximum attention to substrate repairs, vapour control, and edge detailing. For cookspaces and washrooms, see waterproofing renovation solutions covering common site challenges.
Real-World Prep: Surface Cleaning & Contaminants
In old homes, residue from detergents, cooking oil, or building dust can quickly sabotage adhesion. Steam cleaning, alkaline degreasers, and fine abrasive pads typically deliver better prep than mops or over-the-counter cleaners.
How to Choose Waterproofing Products for Existing Surfaces
Consider product chemistry, surface compatibility, cure time, and VOC content before purchase. Manufacturer guidance is key—send site photos for tailored project advice and wholesale quotes.
Conclusion: Waterproof Without Demolition—A Conditional Victory
Waterproofing without demolition is genuinely possible and cost-efficient—but only under strict substrate and preparation standards. Always address hollow, loose, or powdery floors with full repair first. When the base is sound, cleaning is thorough, and you utilize professionally layered coatings, you can achieve robust protection and long-term peace of mind.
Frequently Asked Questions
Which coatings work for waterproofing over tile?
Epoxy, polyurethane, and polyaspartic systems work well over tiles after proper grinding and cleaning. Always check substrate bonding first.
How can I check for hollow tiles before starting?
Tapping tiles with a rubber mallet reveals hollow sounds. These areas should be removed before attempting waterproof over-coating.
Is one-coat waterproofing reliable over existing surfaces?
No. Durable waterproofing always uses multiple coats for adhesion, flexibility, and durability. Single-coat fixes often fail early.
Can high humidity affect waterproofing without demolition?
Yes, it can slow curing and weaken adhesion. Monitor site humidity and choose chemistry designed for those conditions.
Should I remove all grout before waterproofing existing tiles?
Not always. Grout should be intact and free of mold. Damaged or loose grout must be repaired before coating.
How long will waterproofing without demolition last?
With proper prep and stable substrate, lifespan can reach 5–12 years. Unstable bases dramatically reduce protection.