Owning a fiberglass boat is exciting, but they can get damaged. This includes surface scratches, deep structural issues, or impact cracks. If you love boats, you might wonder: “Can a fiberglass boat hull be repaired?” Yes, it can, and this guide will help you fix it right.
Key Takeaways
- Fiberglass boat hulls can be repaired, and the process often involves a combination of assessment, preparation, and proper application techniques.
- Understanding the different types of fiberglass boat hull damage, such as surface scratches, gelcoat issues, and structural cracks, is key to choosing the right fix.
- Choosing the right tools and materials, including resins, fillers, and sanding equipment, is essential for a successful fiberglass boat hull repair.
- Both professional and DIY repair options are available, each with their own considerations in terms of cost, time investment, and success rates.
- Proper post-repair care and maintenance are vital to ensure the longevity and performance of the repaired fiberglass boat hull.
Understanding Fiberglass Boat Hull Damage Types
Keeping a fiberglass boat hull in good shape is key for safe and fun boating. Different kinds of damage can happen, from small scratches to big structural problems. Knowing about these damage types is the first step to fixing your boat’s hull.
Surface Scratches and Gelcoat Issues
Fiberglass boats have a protective gelcoat layer that can get scratched, chipped, or fade. These issues might not hurt the hull’s structure but can make the boat look bad. Gelcoat repair is a simple and affordable way to fix these cosmetic problems.
Deep Structural Damage Assessment
Severe damage to a fiberglass hull can happen from impacts, collisions, or weather. This structural damage might show as cracks, delamination, or holes. It’s important to figure out how bad the damage is and where it is, as fixing it might need more work.
Impact and Stress Crack Identification
Stress cracks are common in fiberglass hulls. They can come from impacts, stress, or bad maintenance and storage. Finding and fixing stress cracks early can stop bigger problems from happening.

“Understanding the different types of fiberglass boat hull damage is the foundation for successful repair and restoration.”
Knowing about the different damage types and their effects helps boat owners make smart choices. This knowledge is key as we explore the tools, materials, and methods for fixing fiberglass boat hulls.
Essential Tools and Materials for Hull Repair
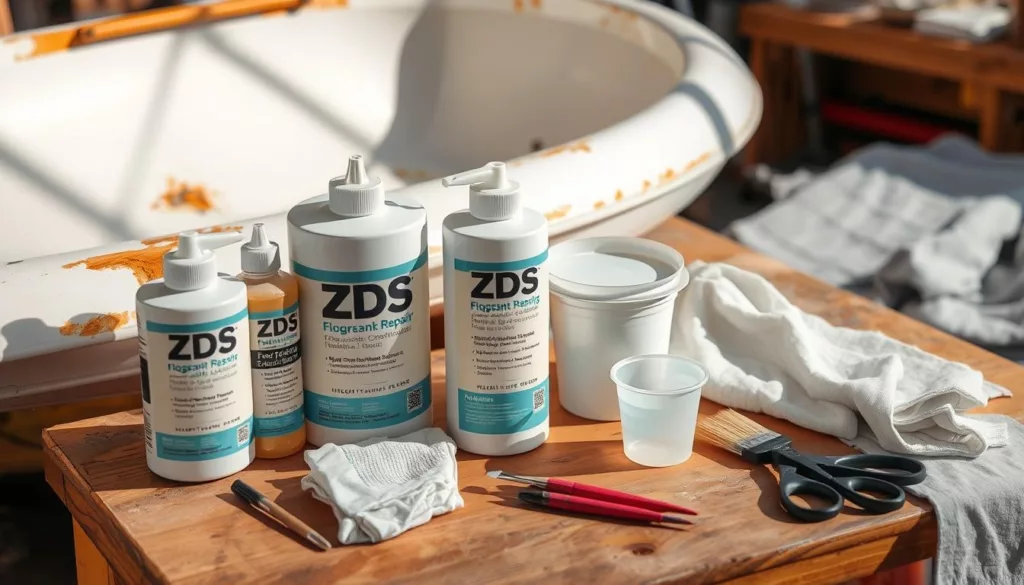
Starting a fiberglass boat hull repair needs the right tools and materials. We’ll look at what you need for a successful fix.
Basic Tools
- Fiberglass repair kit
- Epoxy resin and hardener
- Fiberglass cloth or mat
- Sandpaper in various grits
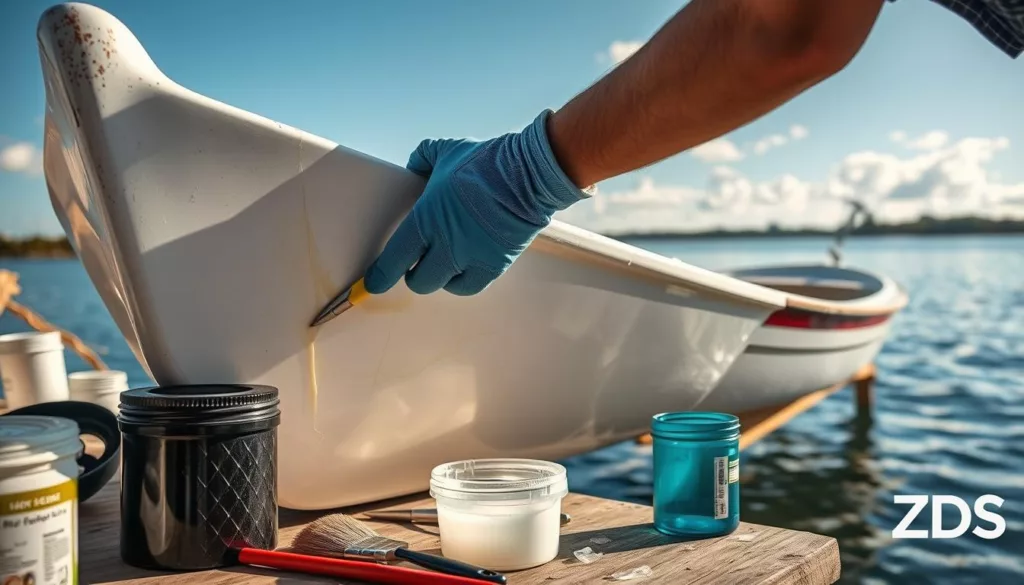
- Razor blade or utility knife
- Mixing cups and stirring sticks
- Disposable gloves
- Paintbrushes or rollers
Specialized Equipment
- Grinder or sander: For removing damaged gelcoat and preparing the surface for repair.
- Vacuum bagging setup: Helps to ensure a strong, void-free bond between the fiberglass and the hull.
- Heat gun or infrared lamp: Aids in curing the epoxy resin and promoting a durable finish.
- Gelcoat sprayer: Allows for a professional-looking finish when repairing the boat’s exterior.
| Tool/Material | Purpose | Recommended Brands |
|---|---|---|
| Fiberglass repair kit | Provides essential components for the repair process | West System, System Three, Cabosil |
| Epoxy resin | Binds the fiberglass cloth to the boat’s hull | WEST System, System Three, Gougeon Brothers |
| Fiberglass cloth | Reinforces the repaired area | Owens Corning, Hexcel, Hexion |
With the right tools and materials, you’ll be ready to fix your fiberglass boat hull. Always follow the manufacturer’s instructions and safety guidelines for the best results.

Can a fiberglass boat hull be repaired: A Complete Analysis
There are two main ways to fix a damaged fiberglass boat hull: by a professional or yourself. Knowing the good and bad of each option is key. It helps you choose the best way for your needs and budget.
Professional vs. DIY Repair Options
Getting a professional to fix your boat hull means a top-notch job. They know what to do and have the right tools. But, it might cost more than doing it yourself.
If you’re handy and know your way around, you can fix your boat. It might save you money, but it takes time and effort. You’ll need to learn how to do it right.
Cost Considerations and Time Investment
The cost of fixing your boat hull depends on the damage and who does it. Professional hull repair can be expensive, but DIY is cheaper. Yet, it takes a lot of time and effort.
How long it takes to fix your boat also matters. Pros can do it fast, but DIY takes longer. It depends on your skills and the repair’s complexity.
Repair Success Rates
Many things affect how well a repair works. These include the damage, the materials, and how well it’s done. Professional hull repair usually works better because they know more. But, a good DIY job can also work well if done right.
Choosing between professional hull repair and DIY depends on your situation. Think about your needs, budget, and comfort with the repair. Weighing these factors helps you make a smart choice for your boat’s future.

Step-by-Step Preparation Process
Getting your fiberglass boat hull ready for repair is key to a successful fix. This includes detailed hull cleaning, checking the damage, and getting the repair area ready. These steps lay the groundwork for a repair that lasts and looks great.
Start by cleaning the damaged area well. This removes dirt, salt, and other debris. Use a gentle soap and warm water, then rinse well to make sure it’s clean.
Then, look closely at the damage. Check for scratches, gelcoat problems, deep damage, and any signs of impact or stress cracks. Knowing the extent of the damage helps you choose the right repair methods and materials.
After cleaning and assessing the damage, prepare the repair area. Sand the area to make it rough, which helps the epoxy resin stick better. Make sure to remove any loose or flaking material and clean the area well for a successful repair.
By carefully following these steps, you’re ready for a professional and lasting fiberglass boat hull repair. With the right preparation, your repair will last and keep your boat looking beautiful.

| Preparation Step | Description |
|---|---|
| Hull Cleaning | Remove dirt, salt, and debris from the affected area using a mild detergent and warm water. |
| Damage Assessment | Inspect the area for surface scratches, gelcoat issues, deep structural damage, and signs of impact or stress cracks. |
| Repair Area Preparation | Sand the affected region to create a rough, textured surface for effective epoxy resin bonding. |
“Proper preparation is the key to a successful fiberglass boat hull repair. Take the time to do it right, and your repair will last for years to come.”
Proper Fiberglass Application Techniques by ZDSpoxy
Repairing a fiberglass boat hull requires careful application of fiberglass and resin. ZDSpoxy, a leading composite resin maker, provides expert advice. They help you achieve top-notch results.
Layering Methods and Best Practices
Getting the fiberglass layers right is key for a strong, lasting repair. ZDSpoxy suggests starting with a clean surface. Then, apply multiple layers of fiberglass cloth or mat, aligning and overlapping each one for a solid bond.
- Measure and cut the fiberglass carefully to fit the repair area for a smooth application.
- Apply the first layer of fiberglass, pressing it firmly and using a roller or brush to remove air pockets.
- For subsequent layers, use a crisscross pattern, overlapping each layer by at least 2 inches.
- Use high-quality resin from ZDSpoxy for strong bonding and finish.
Resin Selection and Mixing Guidelines
Choosing and mixing the right resin is vital for strength, adhesion, and finish. ZDSpoxy’s experts offer these tips:
- Select a resin that matches your fiberglass and application environment, like ZDSpoxy’s.
- Measure and mix the resin and hardener as instructed, for the best curing and performance.
- Use a clean container and a slow-speed drill mixer to mix without air bubbles.
- Apply the mixed resin evenly to the fiberglass, ensuring full coverage.
By using these techniques for fiberglass layering and resin application, you can get professional-grade results. Your repaired fiberglass boat hull will last long and perform well.

Gelcoat Repair and Color Matching
Fixing a fiberglass boat hull is key for looks and protection. The secret to a perfect fix is in gelcoat application, color matching, and finishing techniques.
First, you must prepare the surface well. Sand the damaged area smooth and even. This makes the new gelcoat stick better and look perfect.
Then, you start matching the color. Getting the new gelcoat to match the hull’s color is tricky. It needs a sharp eye and steady hands. Experts use special tools and know a lot about the products to get it right.
- Mix the gelcoat carefully to get the right color and thickness.
- Put on thin, even layers of gelcoat. Let each layer dry before adding more.
- Use special techniques like wet-sanding and buffing for a shiny finish.
The last step is to protect the fixed area. Using a good topcoat or sealant keeps the gelcoat safe from the sea. This makes the repair last longer.
“Proper gelcoat application and color matching are the keys to a successful fiberglass boat hull repair. It’s a delicate process, but the results can be truly transformative.”
Learning how to apply gelcoat, match colors, and finish well helps keep your boat looking great. It also keeps it safe and functional.
Advanced Repair Methods for Severe Damage
Fixing severely damaged fiberglass boat hulls needs advanced techniques. These methods are more than just patching. They focus on making the hull strong and stable again.
Structural Reinforcement Techniques
When the hull is badly damaged, it may need extra support. This can be done by:
- Laminating more fiberglass and resin to make the hull stronger
- Adding supports like bulkheads or stringers for more stability
- Using materials like carbon fiber or Kevlar for extra durability
These steps are key to making the boat safe and seaworthy again.
Complex Hull Repairs
For big damage like cracks, holes, or bends, more complex repairs are needed. This includes:
- Removing and replacing damaged hull parts
- Shaping and fitting new fiberglass panels smoothly
- Using special epoxy resins and techniques for a strong fix
These repairs need a lot of skill to make sure the boat is fixed right.
“Proper execution of advanced repair techniques is critical for fixing severely damaged fiberglass boat hulls.”
Using structural reinforcement and complex hull repair methods helps fix major hull damage. This way, boat owners can make their vessels safe and reliable for many years.
Post-Repair Care and Maintenance
Fixing a fiberglass boat hull is just the start. Keeping it in good shape is key to its long life and safety. We’ll cover how to care for your boat’s hull after repair. This will help your boat last longer and avoid future problems.
Prioritize Hull Maintenance
Keeping your fiberglass boat’s hull in top shape is vital. Set up a cleaning and check-up routine. This way, you can spot small issues before they get big, saving you money and time.
- Regularly clean the hull to remove dirt, debris, and marine growth
- Inspect the hull for any new cracks, scratches, or signs of wear
- Apply a protective wax or sealant to the gelcoat to prevent oxidation
Preventive Care for Repair Longevity
To make your repaired hull last, take preventive steps. These actions help avoid future damage and keep your repair work intact for longer.
- Avoid beaching or docking your boat on rough surfaces that could impact the hull
- Be cautious when navigating in shallow waters or areas with submerged debris
- Store your boat properly when not in use, protecting it from environmental factors
| Maintenance Task | Frequency | Benefits |
|---|---|---|
| Hull Cleaning | Monthly | Prevents marine growth and improves hydrodynamics |
| Gelcoat Inspection | Quarterly | Identifies possible issues early, allowing for timely repairs |
| Waxing and Sealing | Annually | Protects the gelcoat from UV damage and oxidation |
By focusing on hull maintenance, taking preventive steps, and following best practices, you can keep your repaired fiberglass boat hull in great shape. Enjoy many more safe and reliable boating seasons.
Common Mistakes to Avoid During Hull Repairs
Fixing a fiberglass boat hull is a precise task that needs careful attention. Even experienced DIYers can make errors that harm the repair’s quality and life span. We’ll look at the most common mistakes to steer clear of when picking materials and timing application during hull repairs.
Material Selection Errors
Choosing the right materials is key for a good fiberglass boat hull repair. Common errors include:
- Using the wrong resin can cause curing issues and weak adhesion.
- Choosing fiberglass matting or cloth not suited for the boat’s build can weaken its structure.
- Not matching the gel coat color can lead to ugly and uneven finishes.
Application Timing Issues
Timing is critical when applying repair materials. Mistakes to avoid include:
- Rushing the repair can lead to air bubbles, poor resin penetration, and repair mistakes.
- Letting the resin cure too long before applying the gel coat can cause adhesion problems.
- Not properly preparing the surface can weaken the bond between new and old fiberglass.
By knowing these common pitfalls and taking the right steps, you can ensure a successful and lasting fiberglass boat hull repair. Remember, paying attention to detail and being patient are essential for a professional-grade result.
Conclusion
Fiberglass boat hull repairs are not just possible but can make your boat look new again. With the right epoxy resin manufacturer and techniques, even big damage can be fixed. This ensures your boat stays strong and works well for years.
Whether you choose to hire a pro or do it yourself, you can feel sure about the repair. This guide has given you the knowledge to fix your boat’s hull. You now know how to handle different types of damage and apply fiberglass and gelcoat.
With the right steps and care, fixing your fiberglass boat is achievable. You can make your boat good as new and enjoy more time on the water. By using the tips and methods from this guide, you’ll be ready to face any hull problems that come up.
FAQ
Can a fiberglass boat hull be repaired?
Yes, most fiberglass boat hulls can be fixed. The repair’s success depends on the damage’s type and extent.
What are the common types of fiberglass boat hull damage?
Damage can vary from small scratches to deep structural issues. It also includes impact damage and stress cracks.
What tools and materials are needed for fiberglass boat hull repair?
You’ll need a fiberglass repair kit, epoxy resin, and fiberglass cloth. Sandpaper and specialized items like gelcoat and paint are also required.
Should I opt for a professional or DIY fiberglass boat hull repair?
Choosing between professional and DIY repair depends on the damage’s extent and your skills. Both have their pros and cons.
How do I properly prepare the fiberglass boat hull for repair?
Start by cleaning the area well. Then, assess the damage and prepare the surface. This ensures a lasting repair.
What are the best practices for applying fiberglass and resin during the repair process?
Use expert techniques from ZDSpoxy. This includes proper layering, resin selection, and mixing. It helps achieve professional results.
How do I restore the gelcoat and match the color after a fiberglass boat hull repair?
Restoring gelcoat and matching colors are key for a seamless finish. This involves specific application and color matching techniques.
What advanced repair methods are available for severe fiberglass boat hull damage?
For serious damage, advanced techniques like reinforcement and full hull repairs are needed.
How should I maintain the repaired fiberglass boat hull?
After repair, proper care and regular maintenance are vital. This includes preventive steps and best practices.
What common mistakes should I avoid during fiberglass boat hull repairs?
Avoid material selection errors and timing issues. These mistakes can affect the repair’s quality and durability.
