Explore the exciting world of epoxy resin and discover endless creative possibilities! This guide is perfect for both DIY experts and beginners in epoxy resin crafts. Learn how to turn your ideas into beautiful, professional-quality pieces.
This guide covers epoxy resin basics, from its makeup to how it cures. You’ll also learn about its many uses. Find out what tools and materials you need and how to set up a safe workspace.
Learn about the importance of measuring and mixing epoxy resin correctly. We’ll show you how to avoid common mistakes and handle temperature and environment issues.
Get inspired by the many ways to prepare surfaces and apply epoxy resin. Discover how to add colors and effects, and create amazing patterns and designs.
This guide is for anyone who wants to improve their epoxy resin skills. Whether you’re a hobbyist, artist, or professional, you’ll gain the confidence to complete any project. Start creating your stunning visions today!
Key Takeaways
- Discover the versatility and applications of epoxy resin in a wide range of projects
- Learn the fundamental concepts of epoxy resin, including its chemical composition and curing process
- Explore the essential tools and materials required for working with epoxy resin
- Understand the importance of safety and workspace setup for a successful epoxy resin project
- Master the art of epoxy resin measurements and mixing ratios to achieve professional-grade results
What Is Epoxy Resin and How Does It Work
Epoxy resin is a strong and versatile material used in many fields. It’s made of two parts: a resin and a hardener. When mixed, they react to form a solid, durable material.
Different Types of Epoxy Resin
Epoxy resins vary in their properties and uses. Here are some common types:
- Standard Epoxy Resin: A general-purpose epoxy for various uses.
- Bisphenol A (BPA) Epoxy Resin: More rigid and durable, great for industrial settings.
- Novolac Epoxy Resin: High-performance with excellent chemical and heat resistance.
- Epoxy Vinyl Ester Resin: A mix of epoxy and polyester, ideal for corrosion resistance.
Chemical Composition and Curing Process
Epoxy resins are made of two parts: the resin and the hardener. Mixing them starts a chemical reaction. This reaction hardens the resin into a solid material. The curing process depends on temperature, humidity, and the specific resin and hardener used.
Common Applications and Uses
Epoxy resins are used in many ways, from art to industrial applications. Here are some examples:
- Casting and Molding: Epoxy resins are great for creating detailed molds and sculptures.
- Flooring and Countertops: Known for durability and easy maintenance, they’re popular for floors and countertops.
- Adhesives and Coatings: Epoxy resins are excellent for bonding and creating protective coatings.
- Composites and Reinforcements: Essential in making strong composite materials for aerospace and automotive industries.
Knowing about epoxy resin types, their composition, and uses is key for anyone working with this versatile material.
Essential Tools and Materials for Working with Epoxy
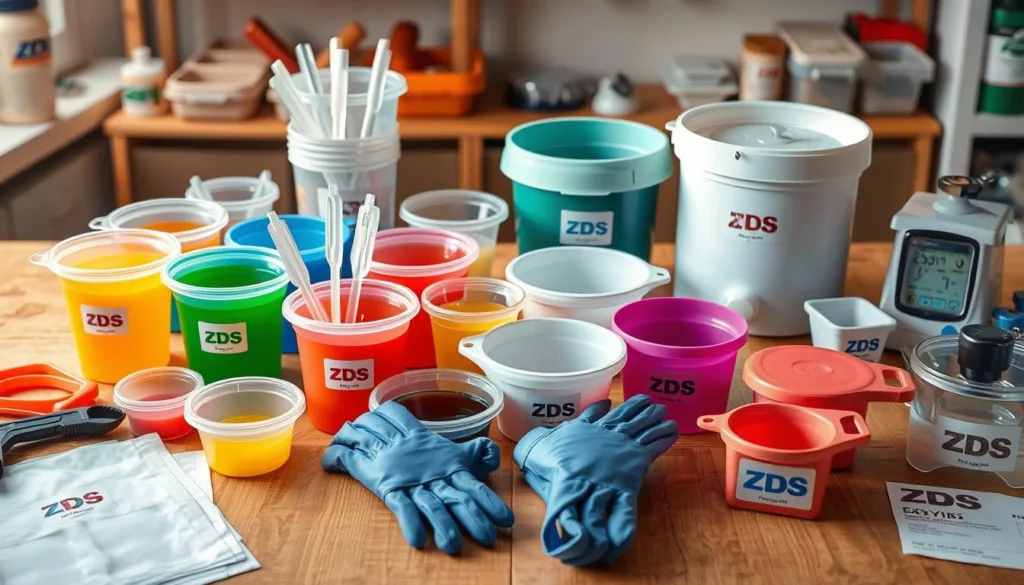
Working with epoxy resin supplies requires the right tools and materials. You need epoxy tools for mixing and applying the resin. Also, resin mixing equipment helps with precise measurements. The right setup is key to success.
Here are the essential items for epoxy resin projects:
- Mixing containers: Use sturdy, disposable cups or containers for mixing.
- Measuring cups: Invest in high-quality measuring cups for accurate ratios.
- Stirring sticks: Wooden or plastic stir sticks are needed for blending.
- Gloves: Wear chemical-resistant gloves to protect your hands.
- Respirator: A respirator or face mask keeps you safe from fumes.
- Eye protection: Safety goggles or glasses protect your eyes from splashes.
ZDSpoxy offers a wide range of epoxy resin supplies. Their epoxy tools and resin mixing equipment make projects easy. They ensure precise measurements and smooth application.
| Essential Epoxy Tools and Materials | Description |
|---|---|
| Mixing Containers | Sturdy, disposable cups or containers for mixing epoxy resin and hardener |
| Measuring Cups | Accurate cups for precisely measuring the resin and hardener |
| Stirring Sticks | Wooden or plastic stir sticks for thoroughly blending the epoxy mixture |
| Protective Gear | Gloves, respirator, and eye protection to ensure safety while working with epoxy |
With the right epoxy resin supplies, epoxy tools, and resin mixing equipment, you can create stunning projects. You’ll work with confidence and ease.
Safety Precautions and Workspace Setup
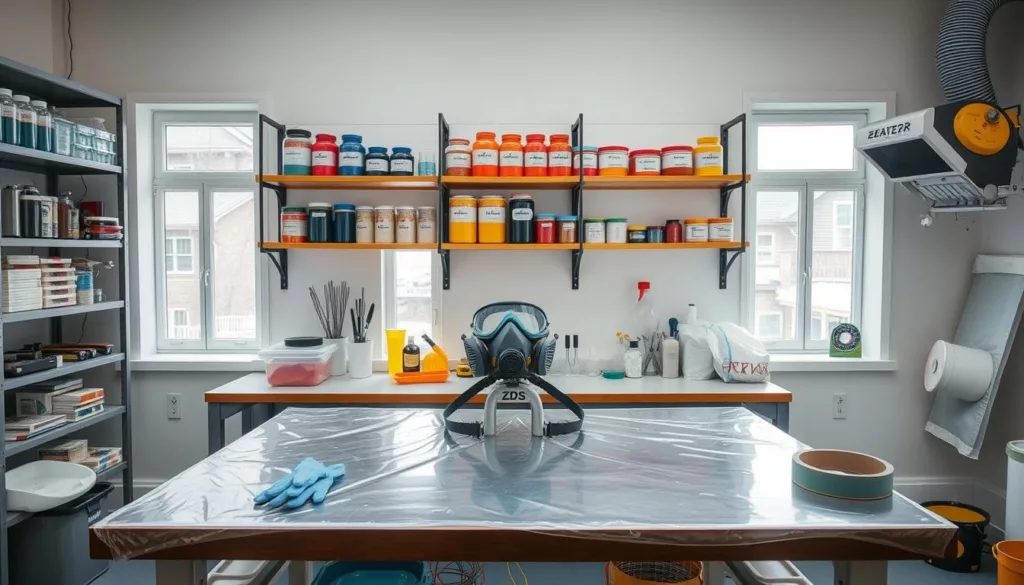
When working with epoxy safety is key. A well-set resin workspace and the right PPE for epoxy are vital. They help make your project safe and successful. Let’s look at how to set up a safe space for your epoxy resin work.
Proper Ventilation Requirements
Good ventilation is essential when working with epoxy resin. The fumes can be harmful, so work in a well-ventilated area. You might need to set up your workspace near a window or use a ventilation system. This keeps the air clean and reduces toxic vapor exposure.
Personal Protective Equipment (PPE)
- Wear protective gloves to avoid skin contact with the resin.
- Use safety goggles to protect your eyes from splashes.
- Wear a respirator mask or face shield to filter out particles and fumes.
- Dress in long sleeves and pants to cover your skin.
Workspace Organization Tips
Keeping your epoxy resin workspace organized is important. Have a dedicated area, good lighting, and all tools and materials within reach. A clean workspace reduces the risk of accidents and spills.
| Safety Measure | Importance |
|---|---|
| Proper Ventilation | Reduces exposure to toxic fumes |
| Personal Protective Equipment (PPE) | Protects skin, eyes, and respiratory system |
| Workspace Organization | Enhances safety and efficiency |
“Taking the necessary safety precautions when working with epoxy resin is vital. It protects your health and ensures a successful project.”
Understanding Epoxy Resin Measurements and Mixing Ratios
Working with epoxy resin requires precise measurements and mixing ratios. The right mix ensures a strong, durable, and flawless finish. Let’s explore epoxy mixing ratios and resin measurements to master epoxy proportions.
Epoxy resin is a two-part system of resin and hardener. The mixing ratio is the specific amount of each part needed. This ratio can be 1:1, 2:1, or 3:1, depending on the product and project.
| Mixing Ratio | Resin to Hardener Proportion | Common Applications |
|---|---|---|
| 1:1 | Equal parts resin and hardener | General-purpose epoxy projects, casting, and adhesives |
| 2:1 | Two parts resin to one part hardener | Coatings, clear finishes, and flood-coating applications |
| 3:1 | Three parts resin to one part hardener | Thicker applications, such as lamination and fiberglass reinforcement |
Accurate measurements of resin and hardener are key. Use a digital scale or graduated cups for precise measurements. Always follow the manufacturer’s mixing ratio instructions.
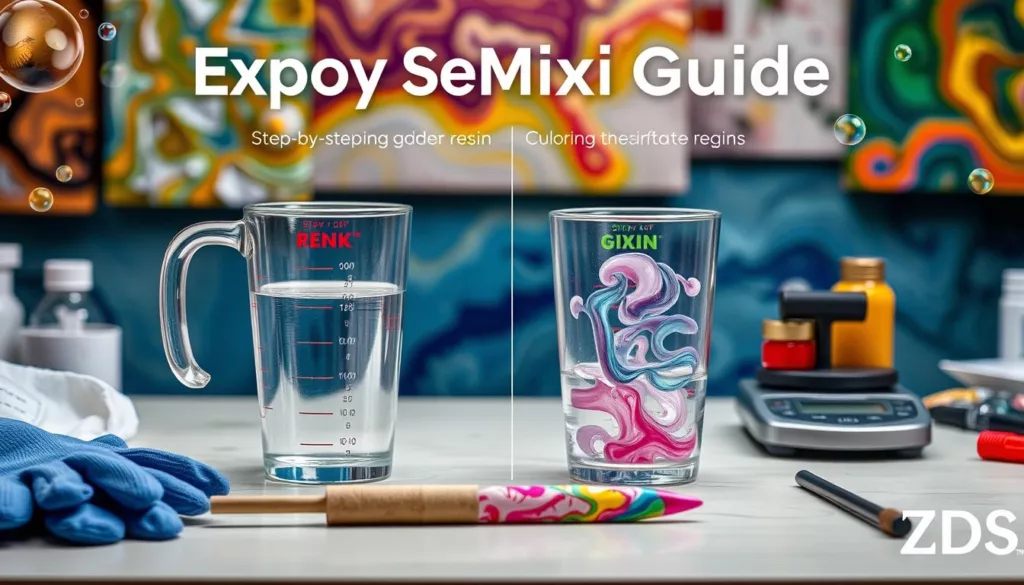
Proper mixing starts the curing process and ensures the best results. Mix the resin and hardener well, scraping the sides and bottom. Mix for 2-3 minutes until it’s smooth and even.
Understanding epoxy mixing ratios and resin measurements helps you create stunning projects. Always follow the manufacturer’s guidelines and try different ratios to find the best mix for your needs.
Epoxy Resin for Beginners: Step-by-Step Mixing Guide
Mixing epoxy resin can seem hard at first. But, with the right steps, it’s easy and rewarding. This guide will help you mix epoxy successfully. We’ll cover common mistakes, temperature, and troubleshooting tips.
Common Mixing Mistakes to Avoid
When mixing epoxy, being accurate is important. Don’t make these mistakes:
- Not measuring resin and hardener correctly
- Mixing for too short a time
- Not stirring well enough
- Getting air bubbles in the mix
Measuring right and mixing well are key for great epoxy resin projects.
Temperature and Environment Considerations
The epoxy temperature and your workspace matter a lot. Work in a room with a steady temperature of 70-80°F (21-27°C). Avoid very hot or cold temperatures. They can change how the epoxy works and how long it takes to dry.
Also, keep your workspace dry. Too much moisture can mess with the epoxy’s performance.
Troubleshooting Mixing Issues
Even with care, you might run into problems while mixing epoxy resin. Here are some common issues and how to fix them:
- Cloudy or hazy epoxy: This could mean you didn’t mix it enough or got air in it. Mix it again well and try using a vacuum to get rid of air.
- Sticky surface: This might be because it didn’t cure right or you mixed it wrong. Make sure you followed the curing instructions and got the mixing ratio right.
- Uneven curing: This could be from temperature or humidity changes in your workspace. Keep your environment steady and use a heat lamp or dehumidifier if needed.
By fixing these problems, you can get a smooth, professional epoxy resin finish.
Remember, mixing epoxy resin needs patience and focus. With practice and the right methods, you’ll make amazing epoxy projects that show off your skills and creativity.
Surface Preparation and Application Techniques
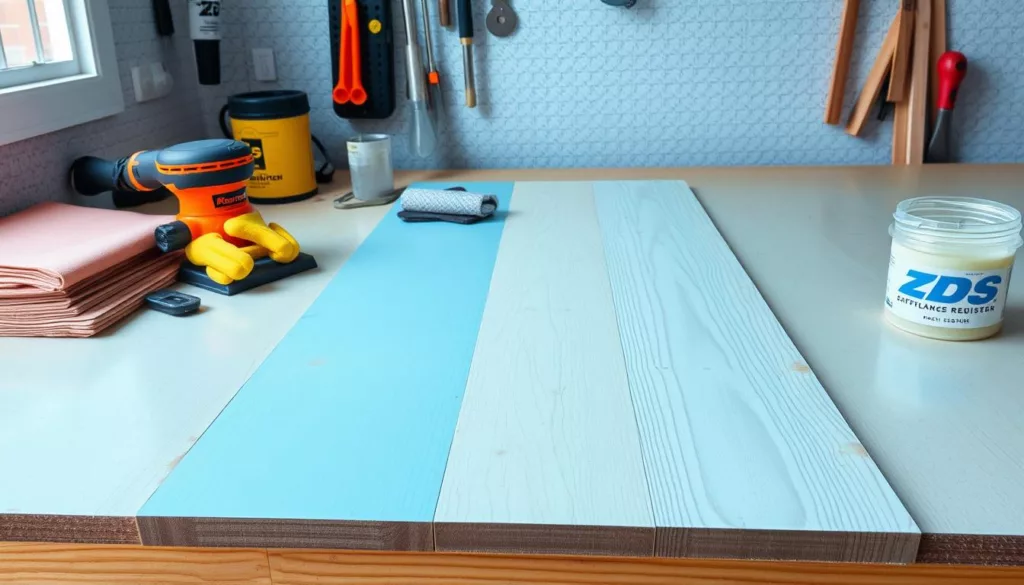
Working with epoxy resin requires careful surface preparation for a lasting finish. Cleaning, sanding, and priming the surface are essential steps before applying the epoxy.
The first step in epoxy surface prep is to clean the surface well. This means degreasing, removing old coatings, and making sure it’s dust-free. After cleaning, sanding begins.
- Use medium-grit sandpaper to rough up the surface, creating a texture that will help the epoxy resin adhere.
- For smooth, even coverage, sand in the direction of the grain or in a circular motion.
- Finish with a fine-grit sandpaper to ensure a smooth, even surface.
After sanding, prime the surface to enhance resin application methods and bond strength. Choose a primer suited for epoxy or a universal bonding agent, depending on the material.
There are several epoxy pouring techniques to try. Pouring directly onto the surface is common, allowing for a smooth finish. Or, use a brush or roller for thin, even coats.
“The key to a successful epoxy project is in the preparation. Take the time to properly clean, sand, and prime the surface, and you’ll be rewarded with a beautiful, long-lasting finish.”
Choose your resin application methods wisely. Always pour or apply in a well-ventilated area and follow safety guidelines. With proper preparation and techniques, your epoxy projects will be stunning and durable.
Adding Colors and Effects to Your Epoxy Projects
Let your creativity shine by adding colors and effects to your epoxy projects. Explore the world of epoxy coloring and resin pigments. These options open up endless possibilities for epoxy design techniques.
Types of Pigments and Dyes
Discover a wide range of pigments and dyes for your epoxy projects. You can use mineral-based powders, liquid dyes, and mica flakes. These add depth and a unique touch to your work. Choose the right pigments for the colors and effects you want.
Creating Unique Patterns and Designs
Make your epoxy projects stand out with unique patterns and designs. Try swirling, pouring, and layering to create amazing effects. Let your creativity shine and make something truly special.
Layering Techniques
Layering adds depth and interest to your epoxy projects. Learn to pour multiple layers of tinted resin. Use pigments, glitters, or other inclusions for stunning results. Patience and attention to detail are key to mastering layering.
| Pigment Type | Effect | Examples |
|---|---|---|
| Liquid Dyes | Vibrant, translucent colors | Alcohol-based, water-based, and oil-based dyes |
| Powdered Pigments | Opaque, matte finishes | Mica powders, metal powders, and mineral-based pigments |
| Mica Flakes | Iridescent, shimmering effects | Holographic, pearlescent, and metallic mica flakes |
“The true artist is not the person who creates something new, but the one who gives new life to what already exists.” – Unknown
Common Mistakes and Troubleshooting Tips
Starting an epoxy resin project is exciting, but it comes with challenges. As a beginner, you might face common issues. Don’t worry, we’ve got you covered with epoxy troubleshooting tips and resin project fixes to help you succeed.
Air bubbles in the cured resin are a common problem. They can happen from mixing issues, fast pouring, or not degassing the resin. To fix this, mix the resin and hardener well. Also, use a vacuum chamber or a torch to remove air.
Uneven curing is another issue. It might be due to wrong mixing or temperature problems. Make sure to mix correctly and keep the temperature steady.
Color separation can also be a problem. It happens when pigments or dyes don’t mix well with the resin. To avoid this, mix the colorants and resin well before pouring. Use pigments that the resin manufacturer recommends.
Knowing these common issues and how to fix them will help you create beautiful epoxy resin projects. Remember, practice and patience are important when working with this material.
Conclusion
As you finish this guide, we hope you’re ready and excited to start your epoxy resin adventure. You’ve learned the basics and how to master the techniques. Now, you can turn your ideas into beautiful, lasting resin pieces.
If you’re new to epoxy resin or already skilled, this guide has given you the tools and knowledge you need. Remember, becoming good at epoxy resin takes practice, patience, and a spirit of trying new things.
Keep exploring this versatile medium and check out ZDSpoxy. They offer top-notch epoxy resin products and resources to help you. Their team is ready to help you make your epoxy resin dreams come true.
FAQ
What is epoxy resin and how does it work?
Epoxy resin is a two-part adhesive that hardens through a chemical reaction. It forms a strong, durable, and waterproof bond. It’s used in arts, crafts, and industrial projects.
What are the different types of epoxy resin?
There are many types of epoxy resin, each with unique properties. You have crystal clear epoxy, pigmented epoxy, casting epoxy, and epoxy flooring systems.
What tools and materials do I need to work with epoxy resin?
You’ll need measuring cups, mixing sticks, and pouring containers. Don’t forget personal protective equipment like gloves and safety glasses.
How do I properly prepare my workspace for working with epoxy resin?
Ensure good ventilation and use a level surface. Wear all necessary PPE. Keep your workspace organized to avoid spills.
How do I accurately measure and mix epoxy resin?
Accurate measurements are key. Follow the manufacturer’s mixing ratios. Blend the resin and hardener until it’s well mixed.
What are some common mistakes to avoid when mixing epoxy resin?
Avoid inaccurate measurements and not mixing long enough. Also, consider environmental factors like temperature and humidity.
How do I prepare the surface and apply epoxy resin?
Clean, sand, and prime the surface first. Then, apply the epoxy using pouring, brushing, or layering techniques.
How can I add color and effects to my epoxy resin projects?
Use pigments, dyes, and inclusions for color and design. Try layering techniques for stunning effects.
What are some common mistakes to avoid when working with epoxy resin?
Don’t mess up measurements or mixing. Make sure to ventilate well. Troubleshoot issues like bubbles and uneven curing.

