Owning a fiberglass boat is exciting, but it requires upkeep. A common problem is holes in the bottom. These can be from accidents, wear, or other reasons. They can weaken the boat and risk your safety.
But, with the right steps and tools, you can fix these holes. This keeps your boat in great shape.
Key Takeaways
- Proper assessment of the damage is key to choosing the right fix.
- Using the right tools and materials is vital for a good repair.
- Good surface prep and quality marine products lead to a strong fix.
- Strengthening the repair area helps avoid future damage.
- Regular care and prevention stop hull damage from happening again.
Understanding Fiberglass Boat Damage Assessment
Keeping your fiberglass boat’s hull in good shape is key for safe and fun boating. It’s vital to know about different types of hull damage, how to figure out their severity, and when to fix them yourself or call a pro.
Types of Hull Damage
Fiberglass boats can get damaged in many ways, like cracks, gouges, and punctures. These problems can happen from accidents, hitting the bottom, or just from regular wear. Knowing what kind of damage you have is the first step to fixing it right.
Identifying the Severity of Holes
It’s important to check how bad hull damage is, like holes, to decide how to fix it. The size, depth, and where the damage is will affect how hard it is to repair. Small holes (less than 1 inch) might be fixable by yourself, but bigger or more serious damage needs a pro.
When to DIY vs. Professional Repair
Deciding if you should fix your fiberglass boat yourself or get a pro depends on a few things. It’s about how bad the damage is, how good you are at fixing things, and if you have the right tools and materials. For small fixes, you might be able to do it yourself. But for bigger or more serious problems, it’s safer to get a marine service expert to make sure your boat is safe and sound.
| Damage Type | Severity | Recommended Action |
|---|---|---|
| Cracks | Small (less than 1 inch) | DIY repair |
| Cracks | Large (greater than 1 inch) | Professional repair |
| Gouges | Shallow (less than 1/4 inch depth) | DIY repair |
| Gouges | Deep (greater than 1/4 inch depth) | Professional repair |
| Punctures | Small (less than 1 inch diameter) | DIY repair |
| Punctures | Large (greater than 1 inch diameter) | Professional repair |
Essential Tools and Materials for Fiberglass Repair
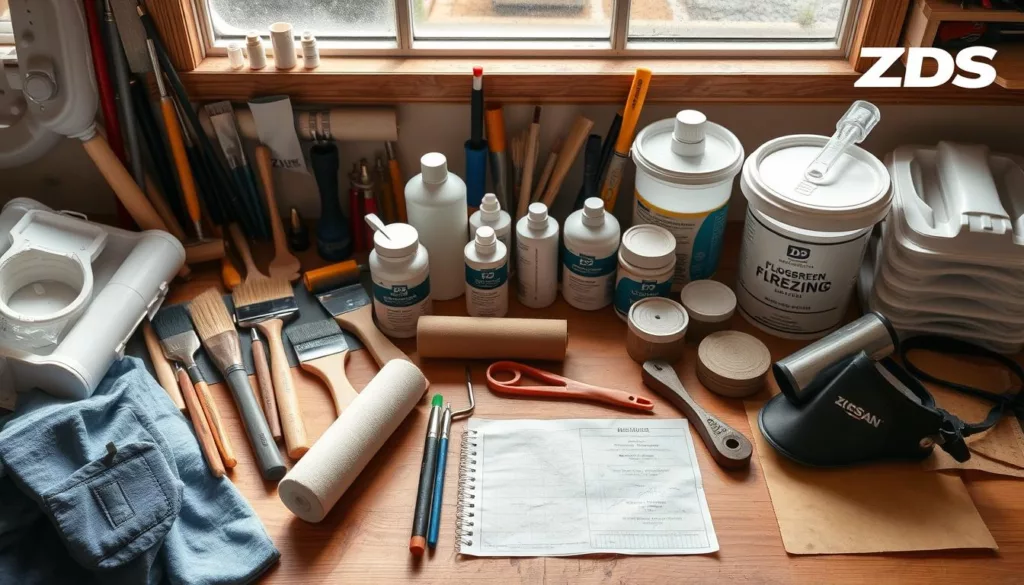
Fixing holes or damages in a fiberglass boat needs the right tools and materials. Whether you’re experienced or new to boat care, knowing the key fiberglass repair tools, boat repair materials, and marine repair supplies is vital. It ensures a successful and lasting fix.
First, collect these essential items:
- Protective gear, such as gloves, safety goggles, and a respirator mask
- Sandpaper in various grits, from coarse to fine, to prepare the surface
- Fiberglass cloth or mat to reinforce the repair area
- Epoxy resin and hardener, made for marine use
- Mixing cups, stir sticks, and disposable brushes for applying the epoxy
- Acetone or other approved solvents for cleaning and degreasing the surface
- A sharp utility knife or scissors for cutting the fiberglass cloth to size
- Clamps or weights to hold the repaired area in place during curing
Also, consider getting specialized fiberglass repair tools like a Dremel tool or a heat gun. They help shape and smooth the repair area.
“Having the right tools and materials on hand can make all the difference in a successful fiberglass boat repair.”
For a durable and lasting repair, use top-quality boat repair materials. Always follow the manufacturer’s instructions. With the right marine repair supplies and patience, you can fix even tough fiberglass damage. Your boat will look like new again.
Preparing the Damaged Area for Repair
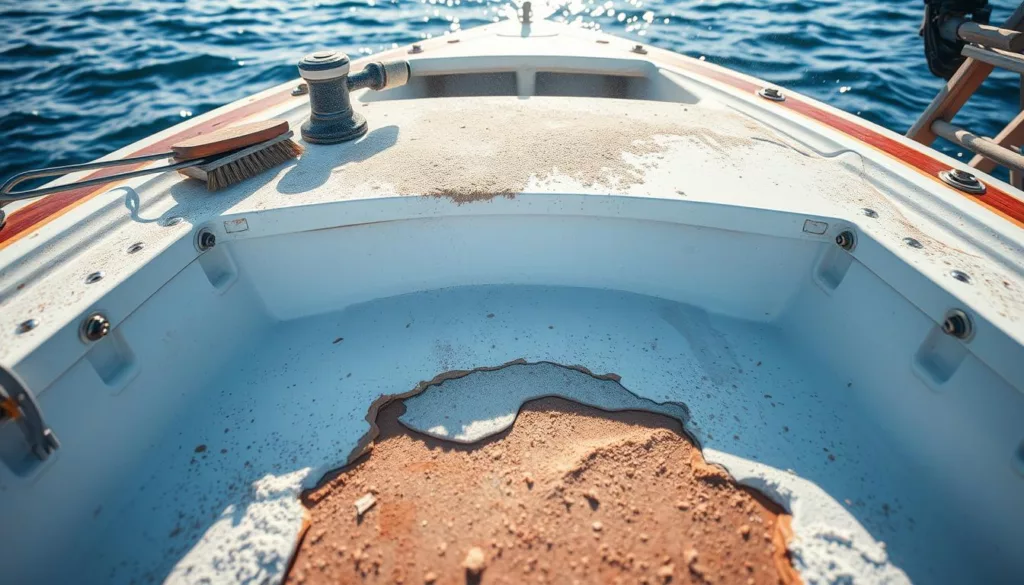
Fixing holes or damages in a fiberglass boat’s bottom needs proper surface prep. This includes boat surface preparation, fiberglass cleaning, and hull repair preparation. Each step is vital for a lasting repair.
Cleaning and Sanding Techniques
Start by cleaning the damaged spot with a degreaser and a stiff-bristled brush. This removes dirt, oil, and other stuff that might stop the repair materials from sticking. After cleaning, use a random orbital sander or sandpaper to make the surface rough. This helps the epoxy stick better.
Creating Proper Ventilation
Working with epoxy resins and marine repair products needs good air flow. Make sure the area is well-ventilated. You can open windows and doors or use a fan. This keeps the air safe and helps the repair materials dry right.
Surface Preparation Steps
- Clean the damaged area with a degreaser and a stiff-bristled brush
- Lightly sand the surface using a random orbital sander or sandpaper
- Wipe away any dust or debris with a clean, lint-free cloth
- Apply a marine-grade epoxy primer to the prepared surface
- Allow the primer to fully cure according to the manufacturer’s instructions
By doing these boat surface preparation, fiberglass cleaning, and hull repair preparation steps, you make the damaged area ready for repair. This ensures a strong and professional fix.
How Do You Fix Holes in the Bottom of a Fiberglass Boat
Fixing holes in a fiberglass boat’s bottom is a key task. It can be done through a detailed fiberglass hole repair process. No matter the size of the damage, a careful boat bottom patching approach is essential. This ensures a strong and smooth hull repair process.
Start by checking how big the hole is. Small ones might just need a simple patch. But bigger holes need a more detailed fix. After figuring out the damage, get your tools and materials ready to start the repair.
- Clean the area well, removing any dirt or loose fiberglass.
- Sand the area around the hole to make it rough for better sticking.
- Put on a layer of marine-grade epoxy resin, following the maker’s mixing and drying times.
- Place fiberglass cloth or mat over the epoxy, making sure it goes past the hole’s edges.
- Apply more epoxy layers, sanding in between to get a smooth finish.
- Finish with a gel coat that matches the boat’s color for a perfect blend.
By carefully following these steps, you can fix holes in your fiberglass boat’s bottom. This will make the hull strong again. Always be safe, work in fresh air, and get help from a pro if you can’t do it yourself.
“Properly repairing fiberglass boat damage is key for keeping the boat in top shape and lasting longer.”
Working with ZDSpoxy Marine-Grade Repair Products
Fixing holes in a fiberglass boat’s bottom needs the right marine epoxy. ZDSpoxy has a wide range of top-notch epoxy resins for marine use. Their ZDSpoxy products are known for being tough, clear, and easy to use. They’re great for both pro boat repairs and DIY projects.
Mixing Ratios and Curing Times
Getting the epoxy resin and hardener mixed right is key for a good repair. ZDSpoxy gives clear mixing ratio instructions for their products. This ensures a strong bond. Remember to follow the curing times closely. This will tell you when you can move on with the repair.
Application Methods
Applying the marine epoxy correctly is vital for a smooth repair. ZDSpoxy has different application methods, like brush-on or using putty knives or rollers. Knowing the right application methods will help you get professional results.
Safety Precautions
When working with epoxy resins, safety is a must. ZDSpoxy offers detailed safety tips, including the right PPE and good ventilation. Following these guidelines will keep you safe while you work.
Using ZDSpoxy products and following their best practices will help you confidently fix even tough fiberglass boat repairs.
Reinforcing the Repair Area
Fixing holes in a fiberglass boat’s bottom is all about keeping it strong. Fiberglass reinforcement plays a big role in boosting boat repair strength and hull structural integrity. With the right methods, you can make a repair that lasts a long time and can handle the sea’s challenges.
Using fiberglass cloth or mat is a smart move. You apply more composite resin and embed the fiberglass into the fix. This makes a solid, strong surface that can handle the boat’s stresses.
- Carefully measure and cut the fiberglass cloth or mat to size, ensuring it overlaps the edges of the repaired area by at least an inch.
- Apply a generous amount of resin to the repair area, then carefully lay the fiberglass reinforcement on top, smoothing out any air bubbles or wrinkles.
- Allow the resin to cure fully according to the manufacturer’s instructions before proceeding with additional steps.
At times, you might need to add more fiberglass layers for extra strength. Taking the time to reinforce well means your fiberglass boat will stay strong and safe for years.
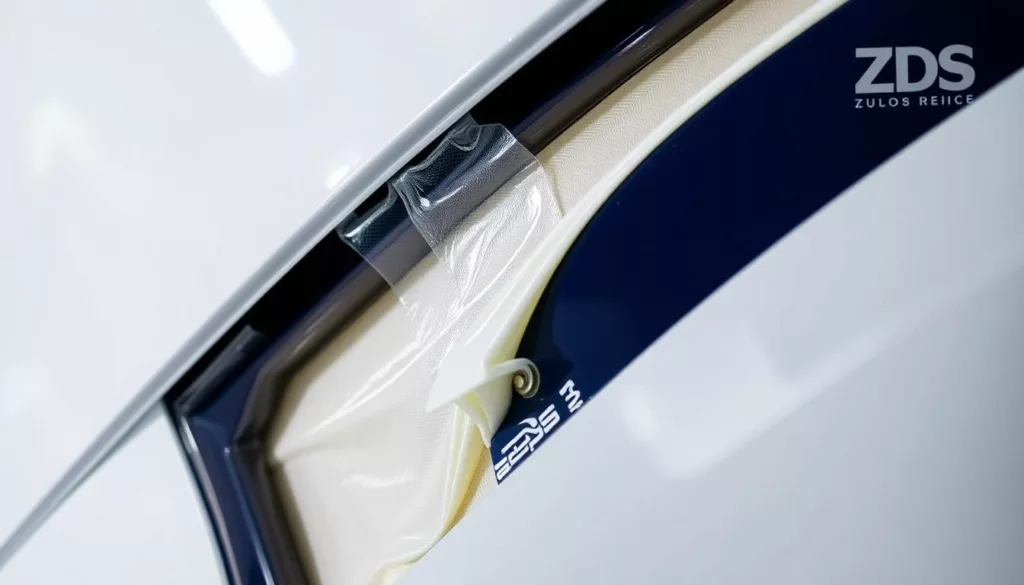
“Proper reinforcement is the key to a durable and long-lasting fiberglass boat repair.”
Finishing and Smoothing Techniques
After fixing the fiberglass, the last step is to make the finish look perfect. This is where fiberglass finishing and boat repair shine. By learning how to sand, apply gel coat, and match colors, you can make the damaged area look like it never happened.
Sanding Methods
Start by sanding the fixed area to match the hull. Use a coarse sandpaper (80-100 grit) to remove extra material. Then, switch to finer grits (220-400 grit) for a smooth finish.
- Use an orbital sander or palm sander for even sanding.
- Focus on the edges to blend the fixed area with the hull.
- Clean the surface often to avoid dust problems with the gel coat.
Gel Coat Application
After sanding, apply the gel coat to the fixed area. Gel coat makes the boat look better and protects it from sun and weather.
| Gel Coat Application Tips | Description |
|---|---|
| Proper Mixing | Follow the maker’s guide for mixing the gel coat right. |
| Application Technique | Use a good brush or roller for thin, even layers. Let each layer dry before adding more. |
| Curing Time | Let the gel coat dry for 24-48 hours before using the boat again. |
Color Matching Tips
The last step is to match the color of the fixed area with the hull. This is done by choosing the right color and blending it well.
- Look at the hull’s color and undertone to find the best match.
- Add tint or pigment to the gel coat if needed.
- Apply the gel coat in thin layers, blending the edges for a smooth look.
“The key to a successful fiberglass repair is not just in the technical aspects, but in the attention to detail and the commitment to achieving a flawless finish.”
By getting good at these finishing techniques, you can turn a damaged fiberglass boat into a beautiful showpiece. It will look great and last a long time.
Maintenance Tips to Prevent Future Hull Damage
Keeping your fiberglass boat’s hull in good shape is key to its long life and avoiding expensive fixes. There are many steps you can take to protect your boat from damage. These include regular checks and using protective coatings.
Routine Inspections
Checking your boat’s hull often is the best way to spot problems early. Look for cracks, chips, or wear. Fixing issues quickly can save you from bigger problems later.
Protective Coatings
Using a top-notch boat hull maintenance coating can really help protect your boat. These coatings and sealants act as a shield against the weather. They help keep your boat looking good and lasting longer.
Proper Storage Techniques
How you store your boat when it’s not in use matters a lot. Don’t leave it out in the sun, wind, or rain. Instead, store it in a covered area or use a strong cover to protect it.
| Maintenance Tip | Benefit |
|---|---|
| Regular Hull Inspections | Early detection of issues and prevention of further damage |
| Protective Hull Coatings | Enhanced fiberglass protection and extended boat lifespan |
| Proper Storage Techniques | Minimized environmental exposure and reduced risk of marine damage |
By following these boat hull maintenance tips, you can keep your fiberglass boat safe. This way, you can enjoy the water without worry for many years.
Conclusion
Fixing holes in a fiberglass boat’s bottom is key for safety and performance. This guide has given you the knowledge to do it right. It covers everything from understanding damage to choosing the right tools and materials.
Learning how to prepare surfaces, use marine-grade epoxy, and reinforce repairs is important. These steps help fix your boat and stop future damage. Keeping up with maintenance and care keeps your boat in top shape for safe and fun boating.
This article is for both experienced and new boat owners. It gives you the tools to fix your boat well. By focusing on maintenance and using the right repair methods, your boat will last longer and perform better. This opens up a world of fun on the water.
FAQ
What are the essential tools and materials needed for fiberglass boat repair?
You’ll need a repair kit, fiberglass cloth or mat, and resin. Also, gelcoat, sandpaper, mixing cups, and stirring sticks are important. Don’t forget gloves and safety gear like goggles and respirators.
How do I prepare the damaged area for fiberglass repair?
First, clean and sand the area. Make sure there’s good ventilation. Follow the steps for surface preparation to get a good repair.
What are the steps for repairing holes in the bottom of a fiberglass boat?
Start by assessing the damage. Then, prepare the area. Mix and apply the resin, and reinforce the repair. Finish with sanding and applying gelcoat.
How do I work with marine-grade epoxy repair products like ZDSpoxy?
Always follow the manufacturer’s instructions for ZDSpoxy. This includes mixing ratios, curing times, and application methods. Also, remember to take safety precautions.
How can I reinforce the repaired area to ensure structural integrity?
Use fiberglass cloth, mat, or more resin layers to strengthen the hull. This helps keep the structure solid and intact.
What finishing and smoothing techniques should I use for a professional-looking repair?
Sand the area well, then apply gelcoat. Use color-matching tips to make the repair blend with the hull.
How can I prevent future hull damage to my fiberglass boat?
Regularly check your boat for damage. Use protective coatings and follow storage and maintenance tips. This helps avoid future damage.
