Understanding Gas Compressor Skid Installation
Gas compressor skids are the backbone of many facilities in the oil, gas, and process industries. Proper installation is not just a matter of securing heavy machinery to the ground—it’s about ensuring reliability, safety, and long-term performance. Grouting plays a pivotal role in this process, particularly when choosing between full bed and chock grouting for your gas compressor skid. This article dives deep into grouting techniques, explaining not only the theory but also the real-world implications of your choice.
What Is Grouting in Gas Compressor Skid Installation?
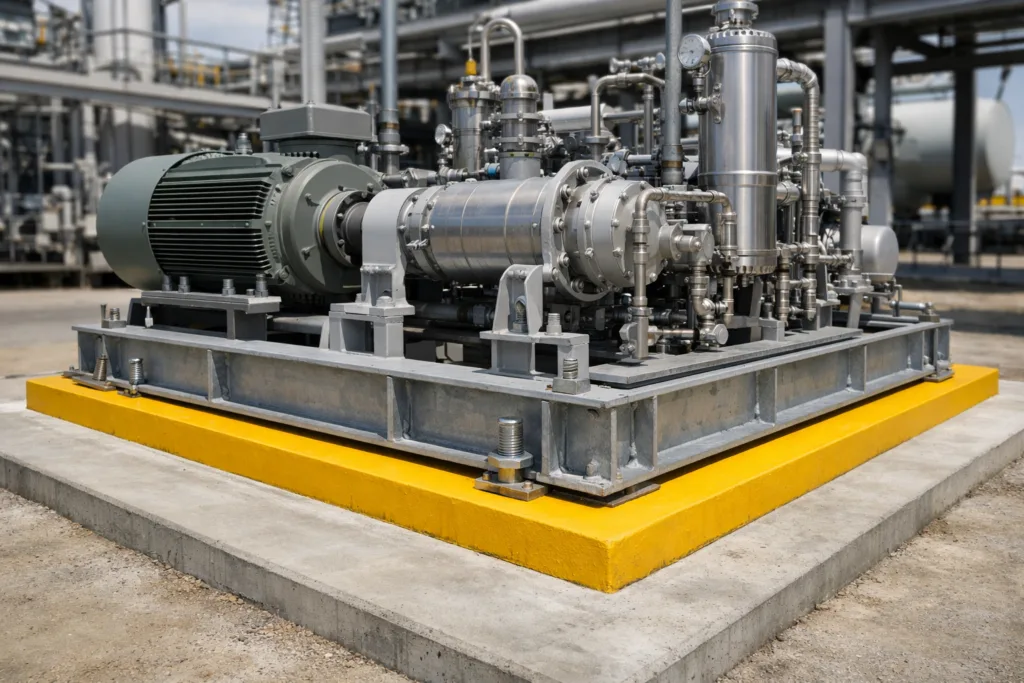
Grouting refers to injecting or pouring a cementitious or resinous material under and around the skid to fill voids, evenly distribute loads, and anchor equipment securely to the foundation. For gas compressor skids—which endure substantial vibration, thermal cycles, and heavy operational stresses—grouting is an engineering necessity.
Why Grouting Matters: Vibration, Stability, and Equipment Longevity
High-performance compressors generate significant vibration and dynamic loads. Without proper grouting, these forces transfer unevenly into concrete foundations, causing mechanical misalignment, premature wear, and costly downtime. That’s why grouting techniques are more than just procedural details—they directly impact your plant’s reliability and maintenance schedule.
Grouting Techniques: Full Bed vs. Chock Grouting
Two primary methods are used to grout gas compressor skids: full bed grouting and chock grouting. Each approach has unique strengths and trade-offs, making the right choice site- and project-dependent.
Defining Full Bed Grouting
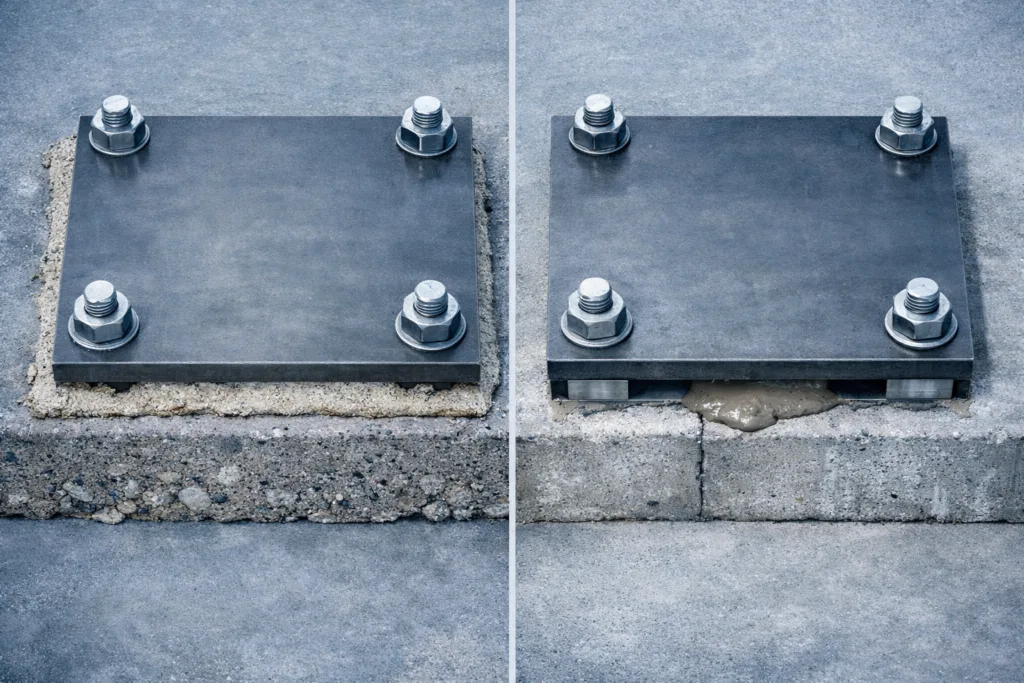
Full bed grouting means completely filling the gap between the underside of the compressor skid and the prepared foundation with grout. This method creates a uniform load transfer plane and acts as a single, solid mass.
What Is Chock Grouting?
Chock grouting, on the other hand, involves using discrete chock pads, typically steel or resin-based, placed under key points (such as mounting bolts or corners). Grout is then poured or injected around the chock areas, not beneath the entire skid.
When to Use Full Bed Grouting
Full bed grouting is preferred when the highest stability is critical or when uneven foundation surfaces make point supports (chocks) unreliable. Its uniform contact minimizes differential settlement, alignment shifts, and vibration hot spots. For heavy-duty, high-speed compressors, this method is often mandated by equipment manufacturers.
When to Use Chock Grouting
Chock grouting is typically chosen for applications demanding quick installations, easier skid leveling, or where access for future maintenance is a priority. By supporting only at select points, chock grouting can allow for minor foundation irregularities or post-installation shimming.
Engineering Principles: Load Distribution and Dynamic Response
The choice between these methods hinges on how loads are transmitted. Full bed grout spreads compressive forces over the entire foundation interface, reducing psi loading and vibration-induced fatigue. Chock grouting localizes force transfer, which can increase local stress but provides maintenance flexibility. Both methods, if executed properly, can meet equipment stability requirements—but the wrong choice may lead to premature foundation and baseplate failure.
Material Selection: Cementitious vs. Epoxy Grout Systems
For modern installations, heavy machinery epoxy grout is widely used because of its outstanding compressive strength, chemical resistance, and durability. Cementitious grouts are more common in legacy systems or non-critical applications. Material selection must account for vibration, temperature range, chemical exposure, and expected machinery loads. ZDSpoxy engineers often advise that for epoxy applications, batch consistency, working time, and air release strategies are critical, especially with thicker full bed pours.
Step-by-Step: Full Bed Grouting Process for Compressor Skids
- Foundation Preparation: Remove debris, oils, and weak surface concrete. Use a primer on dusty or highly absorbent foundations.
- Formwork Installation: Properly seal edges to prevent grout loss or leaks during pour.
- Mixing Grout: Follow strict mixing ratios and quality checks (as per product data sheets for products like ZDS-1410AB). Avoid over-mixing which traps air.
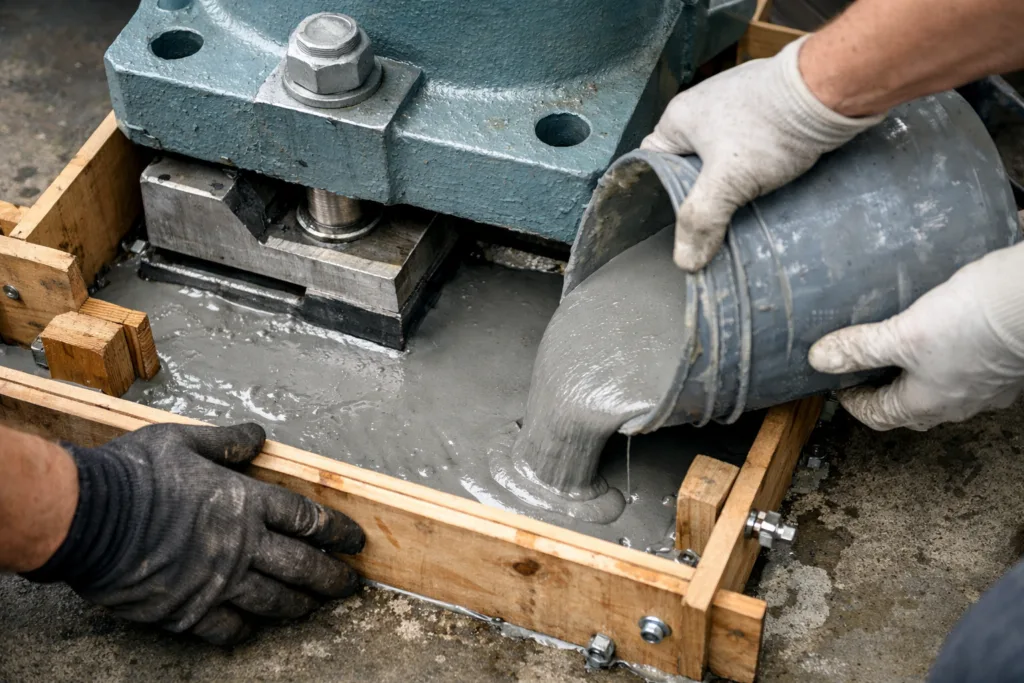
- Placing Grout: Pour steadily from one side to avoid trapped air. Use rods or vibrators to consolidate thick pours.
- Curing and Monitoring: Monitor grout temperature, check for exotherm, and verify cure schedules align with compressor installation plans.
Epoxy grout volume calculation is critical to avoid shortages mid-project. Calculate your usage with our Epoxy Grout Volume Calculator Project Quote tool.
Step-by-Step: Chock Grouting Process for Compressor Skids
- Measure and Lay Out Chock Locations: Align with support points indicated by compressor OEM drawings.
- Level Skid on Temporary Shims or Jacks: Verify target elevation and alignment.
- Insert Chock Elements: Use engineered steel or high-performance epoxy chocks as required.
- Pour Grout Around Chocks: Allow flow into voids, either by formwork or by gravity-filled pocket method.
- Cure and Remove Shims: Only once grout is fully cured and system alignment is rechecked.
Foundation Preparation: Critical to Grouting Success
For both methods, the foundation surface must be clean, sound, and roughened. Oil, laitance, or moisture create weak bonds—leading to future grout debond, voids, and vibration amplification. For difficult cases, ZDSpoxy research found that solvent-free epoxy primers, like those described on our Solvent-Free Epoxy Primer page, can boost interface strength dramatically.
Mixing, Pot Life, and Application Best Practices
Controlling mix quality is site-critical, especially for epoxy systems. Only mix what can be placed within the product’s working time. Use low-shear mixers to avoid entrained air. Temperature control is vital—epoxy and many cement grouts react faster in heat, which shortens pot life and risks cold joints.
Case Study: Compressor Alignment Challenge Solved with Full Bed Epoxy Grout
A refinery faced continual misalignment and seal failures in a reciprocating gas compressor skid installed on a tropical, high-humidity site. Despite repeated re-leveling with steel shims and chocks, vibration persisted. The solution: remove all shims, flood with a high-strength epoxy grout (ZDS-1410AB) in a full bed application. Post-installation vibration dropped by 50%, and maintenance interventions dropped from monthly to annual. The key lesson: for highly sensitive compressors, full bed grouting reduced stress risers and evenly distributed loads.
Case Study: Quick Turnaround with Chock Grouting
A midstream pipeline operator needed to replace a compressor skid on a fast-track schedule. Chock grouting, using adjustable epoxy chocks, allowed the crew to level, secure, and grout the skid within two days—half the time required for a full bed method. While vibration dampening was slightly less than with a full bed, the project priorities justified the trade-off.
Comparing Results: Full Bed vs. Chock Grouting in Key Dimensions
| Performance Factor | Full Bed Grouting | Chock Grouting |
|---|---|---|
| Vibration Control | Excellent—uniform load transfer | Good—at chock points only |
| Alignment Control | Superior—less risk of shifting | Moderate—must check shim slip |
| Maintenance Flexibility | Slower—full base removal needed | Faster—chocks can be swapped |
| Installation Speed | Slower—cure time for large mass | Faster—localized curing |
| Budget Implications | Higher—more grout volume, labor | Lower—material and time savings |
Common Pitfalls in Grouting Gas Compressor Skids
- Insufficient surface prep—leading to debond or soft spots
- Poor mixing/placement—trapped air, cold joints
- Incorrect primer selection—moisture or oil contamination
- Exceeding recommended layer thickness, causing exotherm/thermal cracking
- Ignoring temperature/humidity on cure time and workflow
Quality Assurance: Verifying Grout Performance
Post-grouting, always verify cure, hardness, and bond via physical testing or ultrasonic methods. Look for voids, delamination, or misalignment before final bolt-up. ZDSpoxy recommends keeping batch records—documenting resin temperature, mix time, and pour sequence—to flag issues before they become operational risks.
How to Select Epoxy Grout for Gas Compressor Skid Installation
- Compressive strength: Match equipment and foundation requirements
- Creep resistance: Crucial for long-term stability under thermal cycling
- Chemical resistance: Especially near compressors handling wet or acidic gas streams
- Flowability: Needed for filling complex baseplates and tight gaps
- Working time / open time: Sufficient for large pours with staggered placement
Environmental Factors in Grouting Projects
Weather, especially heat and humidity, has a profound impact. High temperature accelerates epoxy cure, reducing working times and risking cold joints unless batch sizes are adjusted. Low temperatures may require special formulations or pre-heating of components. Moisture in foundations also demands solvent-free or moisture-tolerant primers and grouts.
Resin Properties Critical to Site Success
Real-world grouting is rarely executed in laboratory-perfect conditions. Resin viscosity, thixotropy, and air release properties must match site constraints: vertical pours, large pours, and varying substrate temperature. When selecting a product, such as ZDS-1410AB, check for application flexibility, site-tested approvals, and rapid air release for void-free results.
Packing, Storage, and Handling of Grout Systems
Grout systems, especially epoxies, require correct storage (dry, cool, out of sunlight). Shelf life varies—watch for expired or partially crystallized components. Use proper PPE and ventilation, as some resin hardeners may be irritants. Follow all regulatory handling instructions to avoid application delays.
Standards and Guidelines for Gas Compressor Skid Grouting
Common standards include API 686, outlining best practices and materials for rotating equipment foundation design, installation, and grouting. Always verify project specifications align with the latest equipment and site safety requirements.
Summary: Making the Right Grouting Choice for Your Gas Compressor Skid
Full bed and chock grouting each have their place in modern compressor installations. The “best” method depends on priorities: full bed for vibration-critical, heavy-duty cases needing ultimate stiffness; chock grouting for faster installs and accessible, maintainable foundations. Prioritize preparation, quality mixing, and careful material selection to ensure equipment longevity and reliability—because every well-installed compressor skid is built on a solid foundation, quite literally.
Frequently Asked Questions
What is the main difference between full bed and chock grouting for gas compressor skids?
Full bed grouting fills the entire base-to-foundation gap with grout for uniform load transfer, while chock grouting uses discrete support pads, with grout poured around them for flexibility and faster installation.
Which is better for vibration control: full bed or chock grouting?
Full bed grouting generally provides better vibration control by distributing forces evenly, but properly installed chock grouting can still offer good performance if alignment and support are carefully managed.
What epoxy grout characteristics are most important for gas compressor installations?
Key characteristics include high compressive strength, low creep, good chemical resistance, excellent flowability, and a working time suited for your project size and conditions.
How do I determine the right grout layer thickness in a full bed application?
Follow the manufacturer’s guidelines, but most epoxy grouts perform best with total thicknesses between 25–150 mm. Thicker pours may require staged application and careful temperature control.
Can I switch from chock to full bed grouting on an existing compressor skid?
It is possible but requires removing existing chocks and shims, cleaning the surface thoroughly, and possibly adding a primer before pouring the new grout bed.
What common mistakes should I avoid during compressor skid grouting?
Key pitfalls include poor surface prep, over-mixing (air entrapment), using expired products, skipping primer steps when required, and working outside recommended temperature/humidity conditions.
Related Reading
- How Grouting Tackles Thermal Expansion in Steam Turbines
- The Ultimate 13-Step Pre-Grout Inspection Checklist for API Pump Skids
- How Poor Grouting Impacts Pump Seal Life and Budgets
- Vertical vs. Horizontal Pump Grouting—What Every Engineer Should Know
- API 686 Grouting Standards: The Essential Guide for Equipment Reliability