Is Thicker Always Better? Debunking the Waterproof Coating Thickness Myth
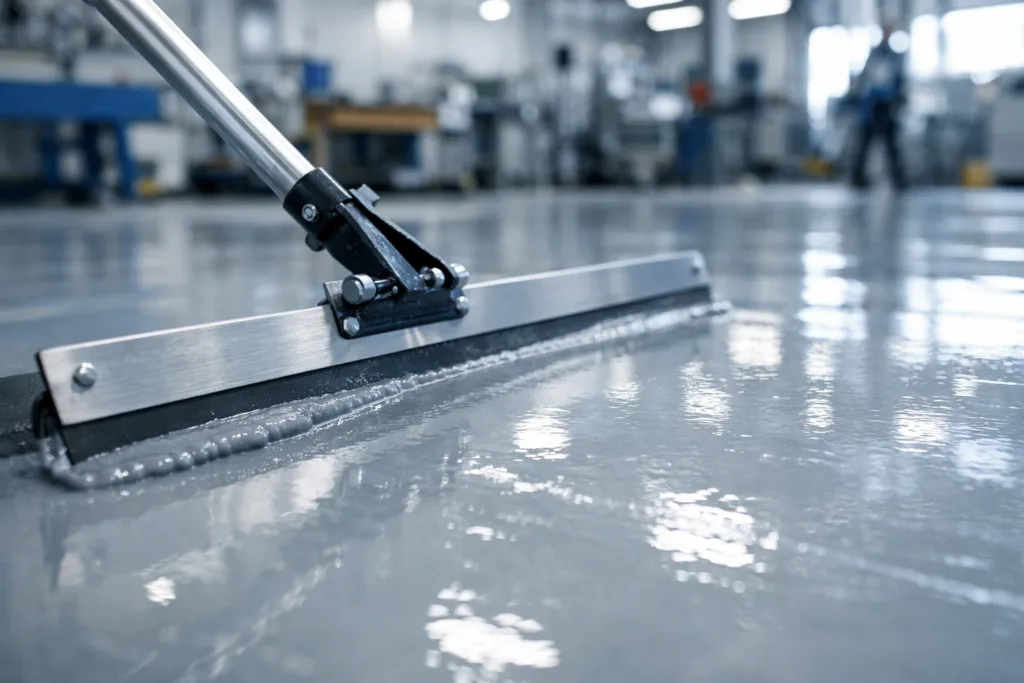
“More is better” doesn’t always hold true for waterproof coatings. In fact, applying a coating too thickly can backfire—trapping air, promoting bubbles, and even causing cracks as the surface shrinks and shrivels during curing. Heavy coatings also take longer to cure, increasing the risk of tackiness or incomplete hardening. Let’s explore how to determine the right waterproof coating thickness for each area, so you can avoid common pitfalls and achieve durable, seamless protection.
Understanding Waterproof Coating Thickness
Waterproof coating thickness is a critical detail that impacts not only performance, but also the cost and longevity of surface protection. The goal is to apply just enough thickness to ensure a continuous, pinhole-free membrane—but not so much that it causes defects like bubbling or slow drying. Following trusted waterproofing renovation solutions is essential for high-traffic and outdoor spaces.
Coating Thickness Terms You Need to Know
- Wet Film Thickness (WFT): The thickness of the coating layer right after application, before curing or drying.
- Dry Film Thickness (DFT): The thickness after the material has fully cured. It’s always less than wet thickness, as solvents and water evaporate.
Common Problems from Over-Thick Waterproof Coatings
- Bubbling: Entrapped air or excess solvent forms blisters beneath the film.
- Cracking: Thick coatings can develop tension and split as they shrink during cure.
- Slow Curing: Heavy layers block air exchange and heat-up, delaying hardening and increasing risks of stickiness or dust pickup.
ZDSpoxy’s site observations confirm that following recommended thickness and layer counts prevents most of these failures, especially with high-solid epoxy, polyurea, and polyaspartic coatings.
Recommended Waterproof Coating Thickness by Area
Choosing the right thickness depends on surface type, regional climate, and exposure level. Here’s a practical guide for popular applications:
Tile Surfaces (Non-Demolition, Direct Overlay)
- Coating Layer Count: 2-3 coats
- Target Dry Thickness: 0.8–1.2 mm (total, not per coat)
- Reasoning: Too thin and grout joints remain exposed; too thick and pinholes/bubbles may form over tile edges.
Need to restore a kitchen or bathroom floor without removing tiles? See more at kitchen bathroom tile waterproofing for detailed product options and techniques.
Outdoor Balconies and Terraces
- Coating Layer Count: 2–4 coats
- Target Dry Thickness: 1.5–2.0 mm (system build based on traffic and rain exposure)
- Reasoning: Sufficient membrane thickness blocks water infiltration from heavy rain or standing water, but balance against crack risk on less flexible substrates.
For optimal protection and slip resistance, refer to terrace balcony outdoor floor.
Wear-Resistant Flooring Systems
- Coating Layer Count: 3–4 coats, including primer, base, and top features
- Target Dry Thickness: 2.0–3.5 mm (depending on intended foot or equipment traffic)
- Reasoning: Thicker systems provide both abrasion resistance and waterproof performance, but excessive build-up can decrease impact flexibility.
Explore floor renovation for robust solutions designed to last.
Swimming Pool Waterproofing Systems
- Coating Layer Count: 3–5 coats, typically including primer, two base layers, and one or more topcoat layers for UV/chemical resistance
- Target Dry Thickness: 2.5–3.5 mm (to handle immersion, hydrostatic pressure, and chemicals)
- Reasoning: Thick, multi-layer systems are essential, but each layer must be fully cured before the next. Rushed thick applications almost always lead to blistering or debonding.
See advanced system designs at swimming pool waterproofing.
Quick Formula: How Much Waterproof Coating Do You Need?
The easiest way to estimate coating use is by understanding the coverage rate per layer and total planned thickness.
- Typical Coverage: For a liquid-applied system at 1 mm final dry thickness: ~1.2–1.5 kg/m²
- Handy Calculation Formula: Material needed (kg) = Area (m²) x Desired dry thickness (mm) x 1.2
Example: For a 20 m² balcony at 1.8 mm total DFT:
20 x 1.8 x 1.2 = 43.2 kg total product (split across coats as per instructions)
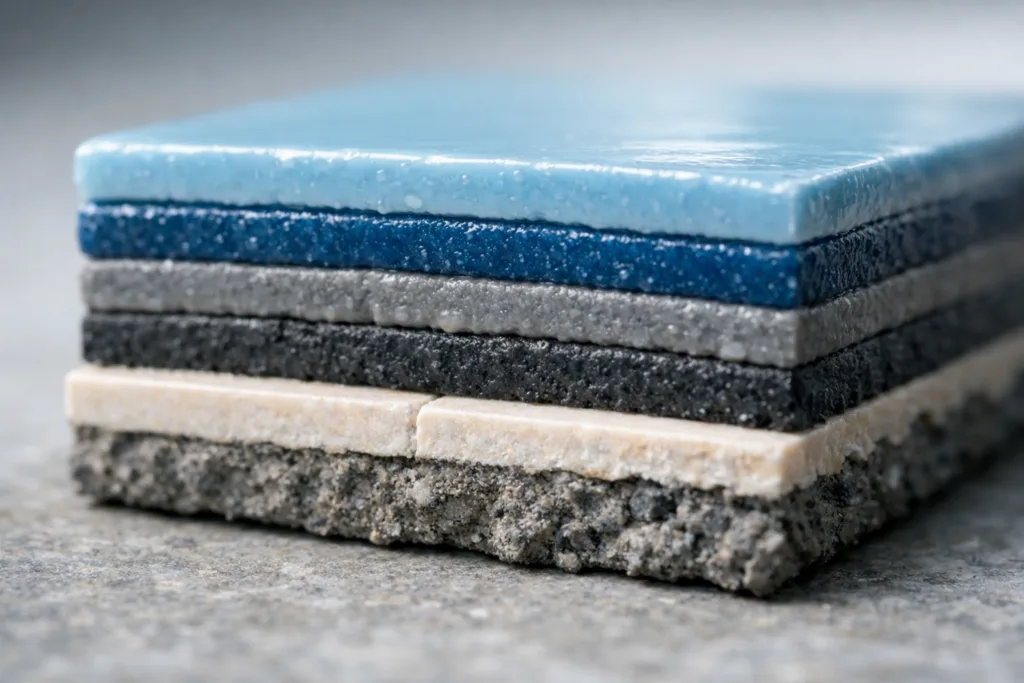
Layering Logic: Why Multiple Thin Coats Beat One Thick Coat
Applying multiple thin layers improves film quality and bonding. Each layer gets to cure properly, reducing bubble formation and avoiding internal stress. Thin coats self-level out surface defects better, ensuring consistent barrier protection without the risk of soft spots or peeling later.
How Thickness Affects Cure Time and Safety
Coating thickness directly affects how fast the membrane cures. Thicker layers slow down solvent/water evaporation or chemical cross-linking, leading to cold/yellow spots and incomplete hardness. This isn’t just a cosmetic concern: improperly cured coatings are more likely to trap moisture, peel, or support mold growth.
- Tip: Follow pot life and re-coat intervals strictly, especially in humid or cool environments. ZDSpoxy sites often track batch times for large projects to maintain even cure across the entire floor plan.
Checklist for a Secure, Long-Lasting Waterproof Coating
- Stick to manufacturer’s recommended dry film thickness (DFT).
- Plan for a minimum of two coats—never one thick pass.
- Allow each layer to fully cure before applying the next.
- Don’t forget edge and detail work, where coating often ends up too thin.
- Confirm compatibility with primers or bonding agents as specified per area/system.
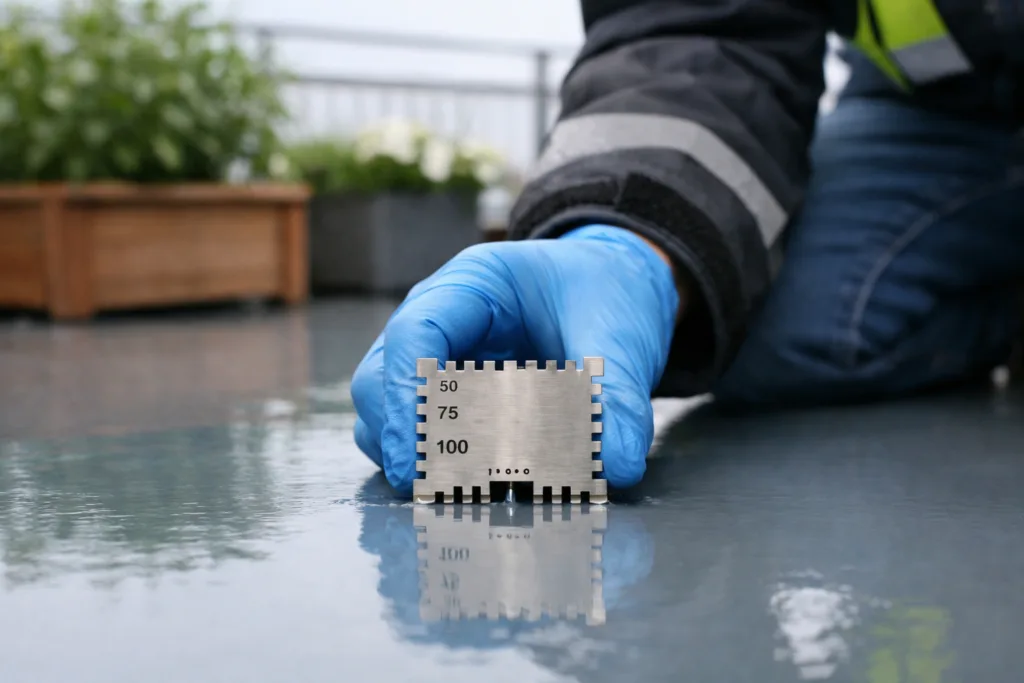
Testing, QC, and Maintenance: Ongoing Thickness Monitoring
After application, check selected points with a wet film comb or dry thickness gauge. Troublesome areas—corners, drains, cracks—need extra attention. For ongoing maintenance, inspect for physical wear and recoat at intervals to maintain minimum thickness.
By Area: Practical Coating Thickness Summary Table
| Area/Application | Recommended Coats | Total Dry Thickness (mm) | Notes |
|---|---|---|---|
| Tile Overlay | 2–3 | 0.8–1.2 | Extends tile life, bridges grout lines |
| Balcony/Terrace | 2–4 | 1.5–2.0 | UV and crack resistance essential |
| Flooring (Wear-Resistant) | 3–4 | 2.0–3.5 | Includes traffic-resistant topcoat |
| Swimming Pool | 3–5 | 2.5–3.5 | Handles constant immersion, chemicals |
Coating Thickness Guide
The best waterproofing systems follow area-specific thickness guidelines, using multiple controlled layers. Remember: adding thickness does not always translate to better durability. Assess the type of substrate, exposure risks (sun, rain, chemicals), and practical working methods to optimize your finished waterproofing. For advanced system design, always consult detailed waterproofing renovation solutions.
Conclusion: Get the Right Thickness for Reliable Protection
Over-thick waterproof coatings bring more headaches than benefits—bubbles, cracks, and slow cures are all too common. Instead, use the right number of well-cured layers at the specified dry thickness for your area. This ensures lasting, seamless waterproofing that stands up to daily wear and seasonal extremes. Refer to tried-and-true formulas and application advice, and make thickness checks a habit for total peace of mind.
Frequently Asked Questions
Why not apply a single thick layer for waterproofing?
A single thick layer traps moisture and air, increasing the risk of bubbles, cracking, and incomplete curing. Multiple thinner layers cure better and form a more reliable waterproof barrier.
How do I calculate how much waterproof coating I need?
Measure your area in square meters, multiply by desired dry thickness (in mm), and then multiply by 1.2 to estimate total kilograms needed. Adjust for the number of coats required.
Can the same thickness be used everywhere?
No, each area—such as tiled floors, balconies, heavy-traffic floors, or swimming pools—requires different thicknesses for optimum durability and waterproofing.
What’s the easiest way to check if my coating is thick enough?
Use a wet film comb during application, or after cure, use a dry film thickness gauge at several points, especially at corners and edges.
Does adding more coats make waterproofing last longer?
More coats up to the recommended thickness provide better protection, but excessive layering beyond system specs doesn’t help and may actually cause defects.
What do I do if my coating is too thick and not drying?
Allow more time for curing, ensure the space is well-ventilated, and check for adhesion problems. Sometimes removing and reapplying with the correct thickness is needed for durability.
Related Reading
- Colored vs Clear Waterproof Coating: 2024’s Key Decision Factors
- Choose the Right Anti-Slip Waterproof Coating for Wet Areas in 3 Steps
- Stop Cracks Before They Start: Joint Filler for Epoxy Floors Explained
- Smart Weather Tactics: Applying Coatings in Cold and Hot Conditions
- Avoid Coating Failure: 3 Quick Ways to Test Adhesion Before You Start