Understanding Bubbles in Epoxy Lamination: Causes and Challenges
Epoxy lamination is a foundation of reliable marine repairs and custom builds. Yet even experienced laminators occasionally battle a persistent nuisance: bubbles and pinholes in epoxy lamination. Whether you’re working with hand lay-up, infusion, or roller techniques, unwanted air pockets undermine mechanical performance and visual appeal, sometimes even promoting water ingress or bond failures. The good news? Most bubble and pinhole problems stem from a few root causes and can be managed with straightforward, shop-friendly methods—no vacuum chamber required.
Why Bubbles & Pinholes Matter in Marine Epoxy Repairs
Bubbles trapped in an epoxy layup are more than cosmetic flaws. Large voids or networks of pinholes can wick moisture, accelerate rot in wood, or become sites for delamination and structural weaknesses. In marine environments, where every joint battles water, salt, and mechanical shock, resin integrity is critical. That’s why savvy boatbuilders and repair techs prioritize careful air management as a core quality step, not just an aesthetic preference.
Root Causes of Bubbles in Epoxy Lamination
To consistently achieve void-free, watertight laminates, it helps to know where bubbles originate. Here are the main sources:
- Mechanical Air Entrapment: Fast or incomplete mixing, over-vigorous roller use, or trapping air while wetting out fabrics can pump bubbles into your resin system.
- Thermal Effects: Applying cold epoxy in a warming shop or on surfaces that heat up causes dissolved air and moisture to expand—literally outgassing into new resin layers.
- Wood or Substrate Outgassing: Porous woods, damp cores, or uncured putty/primer can emit bubbles long after resin is applied.
- Resin Viscosity: Thick, unthinned epoxy resists air release. Certain repairs (like gap-filling with products such as ZDS-1240) demand special care because heavier resins trap air unless gently agitated.
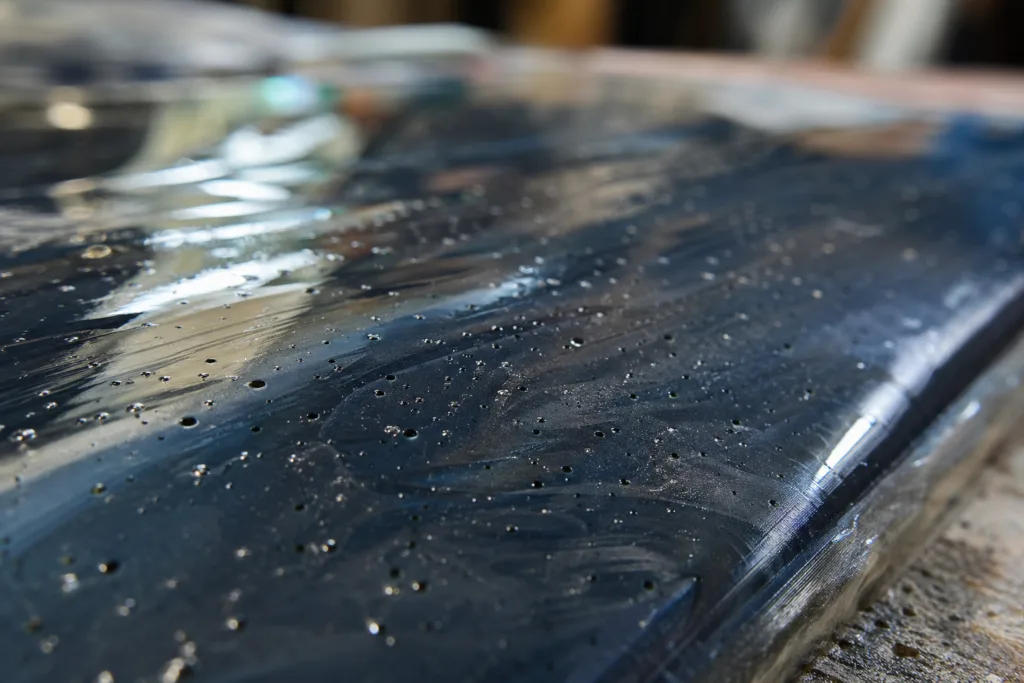
Common Pinholes in Epoxy—Are They the Same as Bubbles?
Pinholes are micro-voids often seen as tiny craters or open “volcanoes” on the cured epoxy surface. Their causes overlap with bubbles but can also stem from low surface tension, off-ratio mixing, or dust/particulate contamination. In marine epoxy lamination, pinholes can compromise primer or topcoat adhesion and hold water over time, so they warrant targeted prevention and repair—especially before applying marine deck coatings or polyaspartics.
Mixing Technique: How Process Drives Bubble Formation
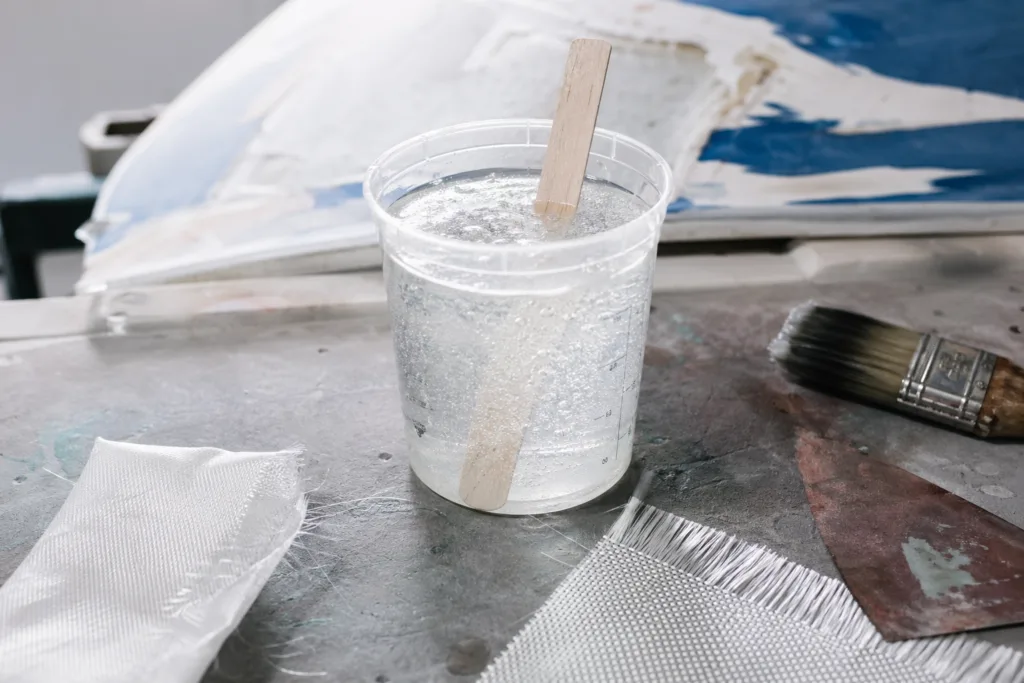
The way epoxy resin and hardener are combined—timing, speed, batch size—affects bubble risk far more than the specific resin type. Here’s what the best shops and products like ZDS-2060AB recommend for repeatable, low-bubble mixes:
- Measure by volume or weight, following the manufacturer’s ratio exactly.
- Double-pot method: Mix Part A and B with a clean stick for 2–3 minutes, scraping sides/bottom, then transfer to a new container and mix another full minute.
- Use deliberate, thorough strokes—not vigorous whipping or power-blending, except for very large batches with drill paddles (where slowest speed is best).
- Once mixed, let the epoxy rest for 1–2 minutes—bubbles will rise and pop naturally.
Temperature’s Role in Bubble Prevention
Both resin temperature and substrate temperature control air movement and viscosity:
- Mix and apply epoxy near room temperature (18–25°C/64–77°F) whenever possible.
- Warm resin lowers viscosity, improves wet-out, and coax bubbles out—but too hot and pot life is cut short, risking rush mistakes.
- If working in a chilly shop, store products like ZDS-1010AB indoors overnight or gently warm bottles in a water bath (sealed, not submerged).
- Never heat the workspace—or substrates—after epoxy is applied. Warming makes outgassing worse; apply resin when surfaces are cooling, not heating up.
Outgassing: Why Damp or Porous Substrates Create Bubbles
Timbers, plywood, and certain composites act like air reservoirs. Any internal air (or moisture) escapes via the path of least resistance—right into your new epoxy layer—as it warms. This “breathing” effect is called outgassing. The solution? Seal wood and porous surfaces with a thin “prime coat” of low-viscosity epoxy, ideally when temperatures are steady or dropping. Let this sealant cure before main lamination for a bubble-minimized bond.
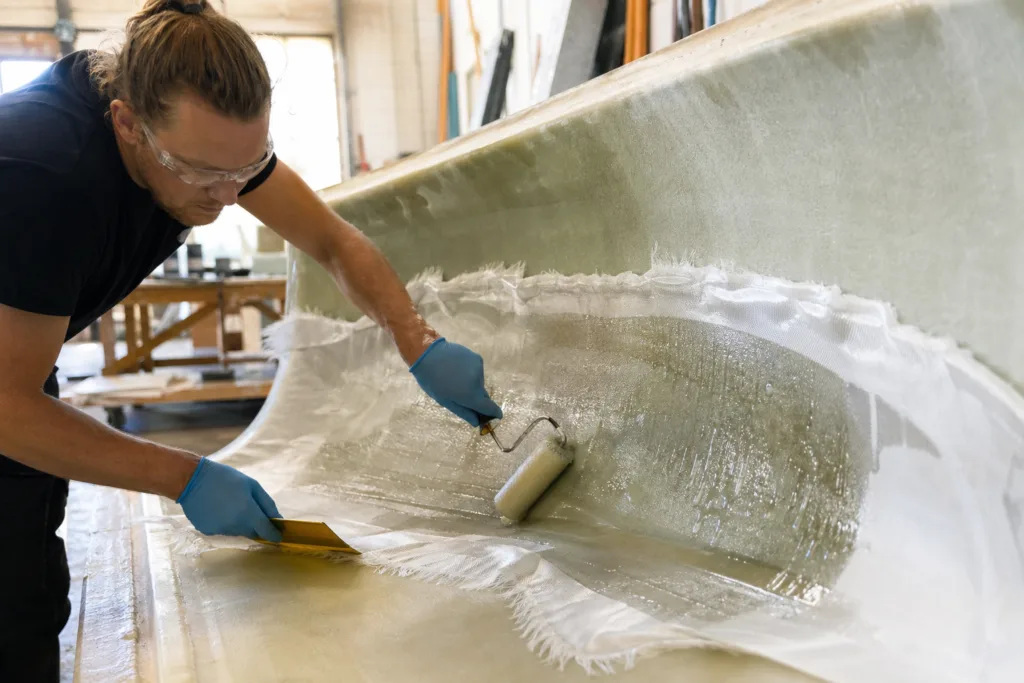
Wet-Out Methods: Brush, Roller, & Squeegee Compared
The wetting tool you use matters. Each introduces or eliminates bubbles in its own way:
| Tool | Bubble Risk? | Control Tips |
|---|---|---|
| Foam Roller | High (from rapid rolling) | Use “smoothing” pass after loading; don’t overwork |
| Bristle Brush | Medium (can trap air in grooves) | Go in one direction; finish with a smoothing stroke |
| Squeegee | Low (if gentle) | Great for large, flat panels |
Best Practices: How to Reduce Bubble Formation During Wet-Out
- Pre-wet fabrics with a small batch of resin before main application. This fills the fabric’s “valleys” so air can’t hide under fibers.
- Use slow, deliberate squeegee motions rather than back-and-forth agitation.
- After rolling or brushing, allow 5–10 minutes for air to rise before proceeding.
- If needed, gently pass a heat gun or hair dryer (low setting!) several centimeters above the epoxy to “flash out” bubbles—never puddle or overheat the resin.
Bubble Risks in Vacuum Infusion
For advanced users, vacuum infusion reduces but doesn’t eliminate bubble formation. Air leaks, poor bag sealing, or trapped moisture can still produce pinholes or streaks. The main defense? Pristine mold prep and controlled resin flow. Study ZDSpoxy’s recommendations in the Boatbuilding Mastery: Resin Selection and Process Control for Flawless Vacuum Infusion guide for an in-depth infusion checklist.
Troubleshooting Checklist: Pinpointing Bubble Problems and Fixes
- Are you mixing long enough and scraping the sides?
- Are you batch-sizing for the job, avoiding large masses that heat up fast?
- Are tools or substrates warm, damp, or dusty?
- Did you give your prime coat adequate time to cure before main lamination?
- Are you applying resin while substrate is cooling rather than heating?
- Are you overworking the resin with rollers or brushes?
- Is your shop air too humid or turbulent?
GDZSpoxy Insight: Real-World Choices in Shops (Not Labs)
In a full-scale production plant or flooring install, we see many failed laminates because someone skips timing, cleanliness, or mixing discipline. At ZDSpoxy, our R&D teams emphasize the importance of in-field realism. For instance, a batch formulated for high flowability (to fill gaps or wet dense fabrics) might need a little longer bench rest after mixing—but that needs to be balanced against pot life and open time. Always keep batch sizes realistic to your tooling and workflow.
Practical Methods: Fixing Bubbles & Pinholes After Epoxy Cure
Despite best efforts, sometimes bubbles sneak through. Repair methods for marine laminations:
- Sanding: For pinholes, gently sand with 180 grit, vacuum away dust, and recoat with a thin brush/roller application.
- Filling: For significant bubbles, clean out the void, fill with thickened epoxy putty (match system for compatibility), and recoating.
- Testing: Where waterproofing is critical, do a “wet test” before topcoating—mist the surface with water and watch for absorption at craters.
Epoxy Lamination Bubble Prevention Checklist (Quick Reference)
- Store and mix resin at steady, moderate temperature
- Pre-seal porous substrates before main layup
- Use the double-pot mixing method
- Smooth with a brush or squeegee after applying
- Let resin rest and let bubbles rise before applying to substrate
- Apply when temperatures are steady or falling
- Don’t rush! Most on-the-job fixes are caused by hurrying in unstable environments
Myth-Busting: Are Vacuum Chambers Really Needed?
Vacuum chambers and pressure pots help “de-air” epoxies, but most marine shops achieve excellent results with smart process control, real-world timing, and careful substrate management. Vacuum assistance is valuable for composites but not essential for hand lay-up boat repair, joinery bonding, or gap-filling duties. For small operations, focus on shop discipline and method—while referencing Marine Epoxy Resin Manufacturer guidance for system compatibility.
When to Recoat: Surface Testing Before Topcoats
Before moving from base lamination to a primer, paint, or varnish, check the cured surface in strong raking light. Hold a flashlight at an angle; if you spot gloss changes or dimples, consider a light sand and a “flow coat” (thin fresh resin pass). Never coat over stubborn pinholes or bubbles—a proper finish starts with a flawless base.
Safety Considerations: Working with Epoxies for Repair and Lamination
Even quick repairs using solvent-free primers or filled crack repair systems demand gloves, goggles, and good ventilation. Remember, sanding cured epoxy produces fine particulate—always use a respirator and clean up dust before recoating.
Conclusion: Epoxy Lamination Success—Bubble-Free & Confident
Pro-quality marine epoxy lamination relies on understanding where bubbles and pinholes originate and using field-proven, repeatable shop solutions. Focus on mix discipline, temperature control, careful toolwork, and substrate prepping. In most cases, you’ll banish bubble defects without fancy equipment—just smart, systematic work. That’s the ZDSpoxy way: knowledge and consistency over hardware arms races. For more laminate system advice and in-depth troubleshooting, ZDSpoxy technical content is always here to keep your builds strong, beautiful, and long-lasting.
Frequently Asked Questions
What causes bubbles in epoxy lamination?
Bubbles typically form due to rapid mixing, vigorous roller use, temperature swings, or exuding air from porous substrates. Careful technique and temperature control help prevent them.
Are pinholes different from bubbles?
Yes. Pinholes are tiny surface craters usually from dust, off-ratio mixing, or outgassing, while bubbles tend to be larger air pockets trapped in the laminate or repair.
What’s the quickest field method to deal with bubbles?
Let mixed epoxy rest before use, apply in thin coats, and pass a low-heat gun gently over the surface to pop rising bubbles. Allow air to escape before recoating.
Can I apply epoxy on warm, sunny days?
It’s safer to apply epoxy when surfaces are cooling down, not warming up, since heating drives outgassing and bubble formation in most marine repairs.
Is vacuum infusion always necessary for a bubble-free finish?
No. While helpful for composites, most small-to-medium shop laminations achieve excellent results with the right mixing, temperature, and wetting methods without mandatory vacuum systems.
How do I fix pinholes before applying topcoat?
Lightly sand the cured surface, vacuum away dust, then reapply a thin resin flow coat to fill any voids. Ensure the repair is visually seamless before topcoating.
Related Reading
- Eliminate Epoxy Coating Bubbles: Advanced Fixes and Prevention Tactics
- Unlocking Safe Walk-On Times for Epoxy: Real-World Cure Timetables
- The Smart Approach to Thick Pour Epoxy: Exotherm Control Strategies
- 2026 Epoxy Flooring Budget Guide: How to Plan, Save, and Maximize Value
- Barrier Success: The 9-Step Plan for Osmosis-Resistant Epoxy Coating