Epoxy resin flooring cost is one of the first numbers buyers ask for, but it is rarely a single number that can be used across every project. From our manufacturing perspective, cost depends on system build, substrate condition, thickness, traffic demands, chemical exposure, curing schedule, and how much risk the specification is designed to absorb. Procurement teams, contractors, and engineers usually get the best results when they compare epoxy flooring bids as complete systems rather than as a simple price per square meter.
For readers who want a broader technical starting point, it helps to compare flooring resin system options for industrial and commercial projects before reviewing quotations line by line.
As a quick working range, installed epoxy flooring may fall around USD 3-6 per ft² for thinner basic systems, USD 6-12 per ft² for self-leveling or decorative systems, and USD 12-25+ per ft² for heavy-duty quartz, mortar, or chemically resistant builds. In metric terms, that is roughly USD 32-65 per m², USD 65-130 per m², and USD 130-270+ per m². These ranges are indicative only, but they show the main reality: most price differences come from preparation, thickness, reinforcement, and performance requirements rather than from resin alone.
How to read an epoxy flooring estimate
One of the most common procurement mistakes is comparing quotations that do not include the same scope. A low bid may exclude repair work, moisture mitigation, edge detailing, disposal, traffic-control measures, or topcoat protection. A higher bid may actually be more complete and lower-risk.
Most installers normally include some combination of the following:
- Surface preparation such as grinding or shot blasting
- Primer coat
- Bodycoat, self-leveling layer, broadcast layer, or mortar layer
- Topcoat or sealer
- Basic masking and application labor
- Standard cure time assumptions
Items often excluded unless clearly specified include:
- Concrete repairs beyond minor patching
- Moisture testing and moisture vapor suppression systems
- Crack routing, stitching, and slab stabilization
- Substantial floor leveling
- Night work, shutdown work, or phased installation
- Rapid return-to-service requirements
- Chemical resistance upgrades
- Anti-slip texture tuning
- Sample panels and pull-off adhesion testing
When reading an estimate, ask whether the quoted system thickness is dry film thickness or nominal installed thickness, whether coverage rates are theoretical or practical, and whether waste factors are included. Those details change the true installed cost significantly.
Indicative installed cost ranges by system type
The table below gives practical ranges for installed systems under ordinary project conditions. Actual regional labor, site logistics, and substrate condition can move the number up or down.
| System type | Typical thickness | USD per ft² | USD per m² | Typical use |
|---|---|---|---|---|
| Thin-film epoxy coating | 0.2-0.5 mm | 3-6 | 32-65 | Light-duty commercial, utility areas |
| Flake or chip epoxy system | 0.5-1.5 mm | 5-9 | 54-97 | Garages, showrooms, back-of-house areas |
| Self-leveling epoxy | 1-3 mm | 6-12 | 65-130 | Smooth industrial and commercial floors |
| Quartz broadcast epoxy | 2-4 mm | 9-16 | 97-172 | Wet areas, slip-resistant service zones |
| Epoxy mortar or screed | 3-6 mm | 12-20 | 130-215 | Heavy-duty wear and impact zones |
| Heavy chemical-resistant build | 4-9 mm+ | 15-25+ | 161-270+ | Food, process, chemical handling areas |
These numbers usually assume access to a reasonably sound concrete slab, ordinary site conditions, and standard curing windows. They do not automatically include major moisture mitigation or deep concrete rehabilitation.
What drives material cost inside the system
Material cost is often only one part of the invoice, but it still matters because different formulations behave very differently in application and service. At the manufacturing level, we look at cost through the full package of chemistry, solids content, viscosity, filler loading, cure profile, and expected performance.
Main material cost components include:
- Epoxy resin and hardener package
- Primers for wetting, penetration, and adhesion
- Bodycoats or self-leveling layers
- Topcoats for abrasion, stain, gloss, or UV stability
- Aggregates such as quartz or silica
- Decorative flakes, pigments, and colorants
- Flow, defoaming, and anti-settling additives
- Packaging, palletization, and freight
Low-cost systems may reduce resin quality, solids level, or binder-to-filler balance. That can lower purchase price but create trade-offs in bond strength, cure consistency, shrinkage behavior, impact resistance, or long-term appearance. In our formulation work, a cheaper kilogram is not automatically a cheaper installed floor if it increases rework or shortens service life.
Coverage, thickness, and why small thickness changes matter
Thickness is one of the clearest cost multipliers in resin flooring. Buyers often underestimate how quickly material consumption rises when a specification moves from a paint-like coating to a self-leveling or mortar-grade system.
| Installed thickness | Typical system style | Indicative material consumption | Cost effect |
|---|---|---|---|
| 0.2-0.5 mm | Thin-film coating | About 200-600 g/m² per coat depending on solids and substrate profile | Lowest material use, limited build |
| 1-3 mm | Self-leveling epoxy | Roughly 1.1-3.3 kg/m² plus primer and topcoat | Noticeable jump in resin and labor |
| 3-6 mm | Quartz or mortar system | Often 3.3-8+ kg/m² with aggregate loading | Heavy-duty build, much higher installed cost |
| Above 6 mm | Heavy industrial screed | Can exceed 8 kg/m² depending on mix design | High material and placement cost |
A simple example shows the effect. If a 1 mm self-leveling layer uses around 1.1 kg/m², then increasing to 3 mm may nearly triple that layer’s binder and aggregate demand before labor and prep changes are even counted. This is why under-specified thickness causes failure, but over-specified thickness can also waste budget.
Where a project needs build and leveling, a properly selected ZDS-3136AB epoxy mid-coat to control system thickness and build can help separate structural filling needs from the final wear surface, which often improves budget logic.
System types, performance, and cost trade-offs
Different epoxy floor systems solve different problems. Cost comparison only makes sense if performance expectations are also clear.
Thin-film epoxy
This is usually the lowest-cost entry point. It can improve dust control, cleanability, and appearance, but it has limited crack-bridging ability and lower tolerance for impact, slab movement, or substrate imperfections. It is a fit for lighter-duty environments, not for demanding process areas.
Decorative flake systems
These add visual consistency and can hide minor substrate defects better than plain coatings. They are common in garages, retail support spaces, and some commercial interiors. Cost rises due to broadcast media, scraping, cleanup, and clear sealing.
Quartz broadcast systems
These are often chosen where slip resistance and wear resistance matter. They are more labor-intensive and use more aggregate, but they offer stronger texture control in wet service areas.
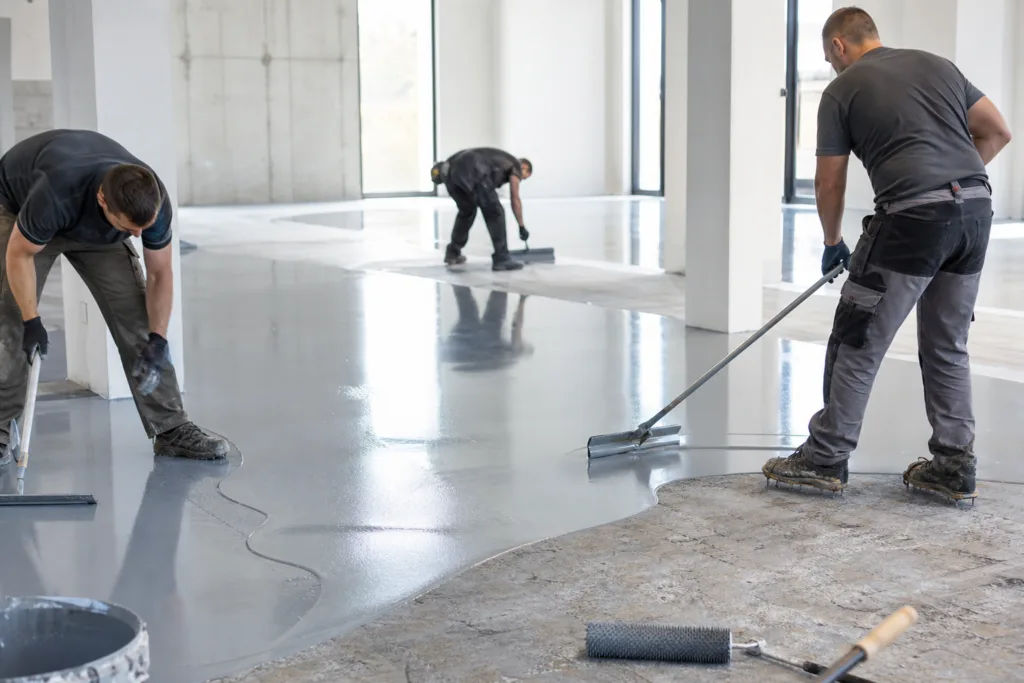
Self-leveling and bodycoat epoxy
These systems create a smoother, thicker, more uniform wearing surface. They work well when cleanability and moderate industrial durability are priorities. However, they demand better substrate preparation and tighter application control.
Epoxy mortar or screed
This is for heavy wear, impact, and thicker rehabilitation needs. The installed cost is much higher, but so is the ability to tolerate abuse and uneven substrates. For plants, workshops, and logistics zones, the right heavy-duty system may lower life-cycle cost despite the higher first cost.
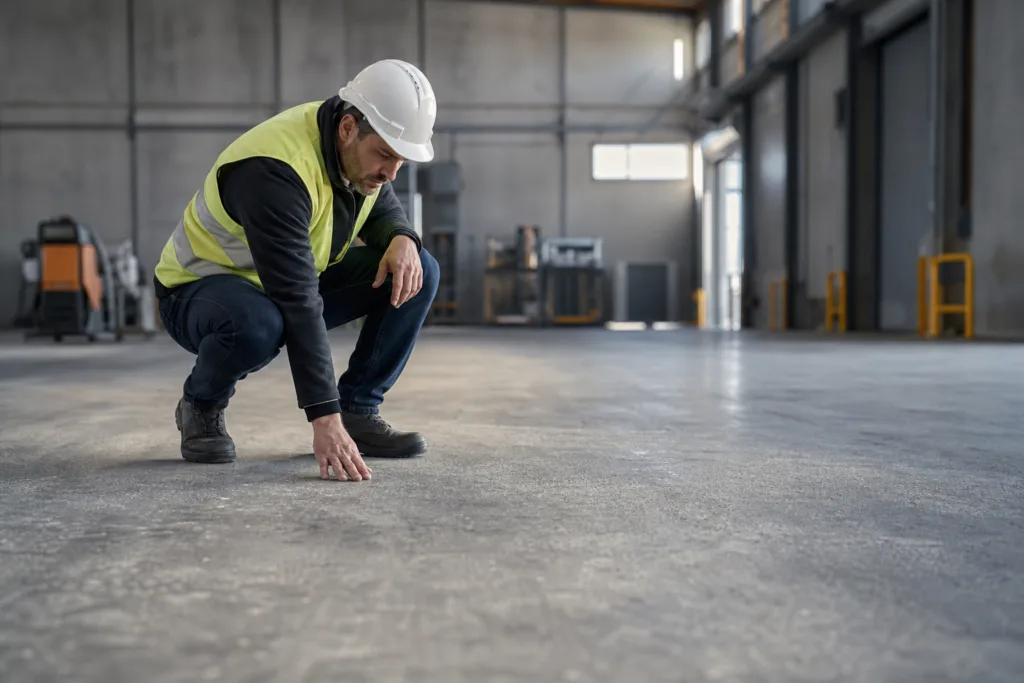
Why substrate preparation often dominates the invoice
In many projects, the largest variable is not the coating chemistry but the concrete itself. A clean, dry, mechanically prepared slab is the foundation of performance. If the floor has laitance, oil contamination, curing compound residue, weak surface zones, moisture problems, or random cracking, installation complexity rises quickly.
Common preparation tasks include:
- Diamond grinding for profile creation and contamination removal
- Shot blasting for faster open-surface preparation on larger slabs
- Crack chasing and routing
- Joint rebuilding
- Spall and pit repair
- Slurry filling of porous surfaces
- Leveling of local low spots
Prep can dominate the invoice because it is slow, noisy, equipment-heavy work that cannot be skipped safely. Cheap systems often fail because the coating is blamed for what is really a substrate defect or a preparation shortcut.
When a slab needs a reliable wetting and bonding foundation before build coats, a correctly matched ZDS-1012AB epoxy primer for concrete and ceramic substrates can reduce downstream defects, especially on absorbent or unevenly porous surfaces.
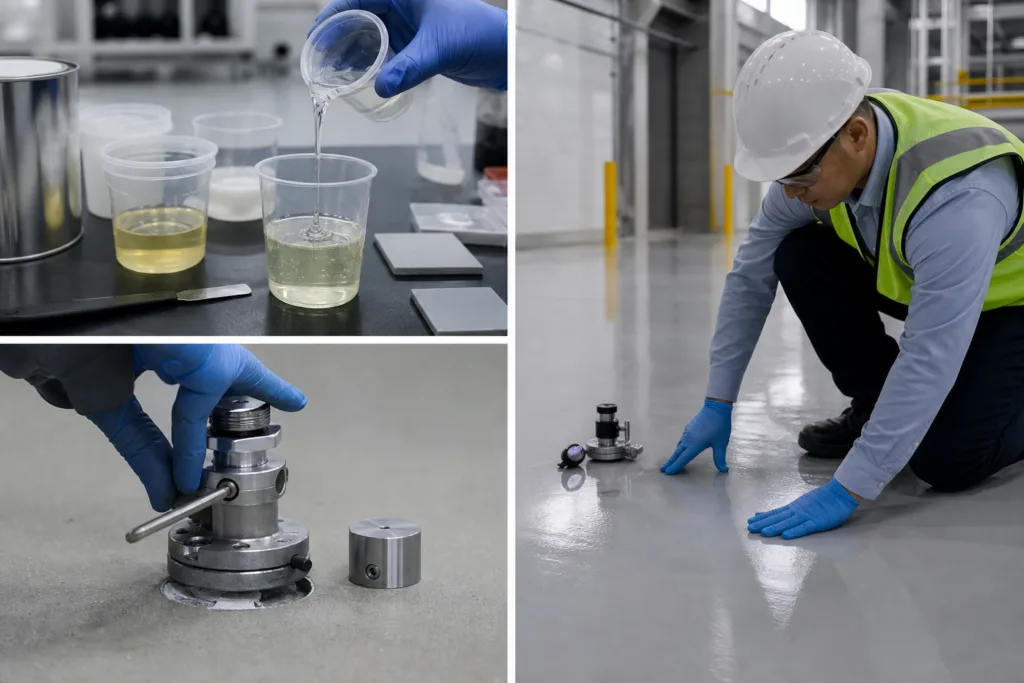
Moisture mitigation and testing costs
Moisture is one of the biggest hidden cost drivers in epoxy flooring. If concrete moisture vapor emission or internal relative humidity is too high, blistering, osmotic defects, whitening, bond loss, and early delamination can follow. That is why serious estimates should clarify whether moisture testing is included and what moisture limits apply.
Typical moisture-related cost items include:
- MVER or RH testing
- Damp-substrate-compatible primers
- Moisture vapor barrier layers
- Additional surface drying time or dehumidification
- Re-sequencing of installation work
The cost impact can be modest on a dry slab and substantial on a new or moisture-exposed slab. From our manufacturer perspective, ignoring moisture to protect a bid price usually creates a much larger future cost through rework and downtime.
Primer selection and why it changes the budget
Some buyers treat the primer as a minor line item, but the primer often determines how well the entire floor system wets the substrate, tolerates porosity variation, and anchors repair materials. A low-priced estimate that removes primer or uses a weak primer on a difficult slab may not be comparable to one that includes a higher-spec base layer.
Higher-spec primers may cost more upfront, but they often pay back by:
- Reducing pinholes and outgassing defects
- Improving adhesion on dense or mixed substrates
- Supporting patching compatibility
- Stabilizing absorbency before bodycoats
- Lowering the chance of localized debonding
For procurement teams, this means the right question is not only, “Is primer included?” but also, “What primer chemistry, what coverage, and what substrate condition is it designed for?”
Topcoat choice, UV exposure, and life-cycle cost
Topcoats can strongly affect the long-term economics of epoxy floors. A basic epoxy topcoat may provide gloss, sealing, and chemical protection, but not every epoxy top layer offers the same abrasion retention, stain resistance, or yellowing control. If the area sees sunlight, washdown, forklift turning, or chemical splash, the topcoat choice matters.
In decorative or moderate-duty systems, a ZDS-400AB high-gloss clear epoxy topcoat for decorative and protective finishes may suit projects where appearance and sealed wear performance are primary concerns.
For harder service conditions, especially where chemical resistance and wear retention matter, a ZDS-8300AB 2K polyurethane topcoat for chemical-resistant, long-wear floors can make more life-cycle sense even if its upfront cost is higher. Polyurethane topcoats often improve scratch retention, UV stability, and maintenance intervals compared with standard epoxy-only finishes.
The cost lesson is simple: a lower-cost topcoat may reduce bid value today but increase recoating frequency tomorrow.
Labor, access, and site conditions
Labor rates vary widely by region, but labor productivity also changes by project size and access. A 5,000 m² open warehouse floor is usually more economical per square meter than a 150 m² project with drains, corners, columns, operating equipment, and restricted working hours.
Factors that increase labor cost include:
- Small fragmented areas
- Night or weekend shifts
- Phased occupancy
- Strict dust control requirements
- Cold or humid curing conditions
- Rapid return-to-service demands
- High-detail edge work and vertical terminations
These are real cost drivers and should be reflected in bid comparisons. A technically correct contractor may appear more expensive simply because they have priced the actual site risk.
Why cheap systems fail
Low bids often rely on under-scoped preparation, thinner-than-needed build, lower-grade raw materials, or unrealistic assumptions about the substrate. In practice, the most common failure modes are predictable.
| Failure mode | Typical root cause | Cost consequence |
|---|---|---|
| Delamination | Poor prep, moisture, no primer, contamination | Full or partial replacement |
| Blistering or bubbling | Outgassing, moisture pressure, wrong application window | Grinding and recoating |
| Soft or uncured areas | Improper mix ratio or poor blending | Removal and reinstallation |
| Premature wear | Under-specified thickness or weak topcoat | Short maintenance cycle |
| Cracking reflection | Slab movement not addressed | Localized repair and visual defects |
| Staining or chemical attack | Wrong resin chemistry for exposure | Loss of hygiene and appearance |
At ZDSpoxy, we usually advise buyers to treat an epoxy floor as a specification-and-execution package. If the chemistry, thickness, prep, and cure conditions are not aligned, the cheapest installed number can become the most expensive outcome.
The true cost of failure and downtime
Failure costs are often far greater than the initial coating budget. A localized debonding area may require shutdown, demolition of failed material, moisture retesting, renewed preparation, reinstalling the system, and delayed operations. In food, logistics, retail, or manufacturing environments, downtime can exceed the original floor price quickly.
Common hidden costs after failure include:
- Production interruption
- Loss of access to traffic lanes
- Temporary containment or safety measures
- Waste disposal
- Reinspection and retesting
- Warranty disputes between material and installer parties
This is why prudent buyers compare bids on risk-adjusted value, not only first cost.
Lifecycle cost and cost per year
A practical way to compare flooring options is to divide installed cost by expected service life under the actual duty cycle. For example, a USD 8 per ft² system lasting 4 years before major refurbishment costs about USD 2 per ft² per year. A USD 13 per ft² system lasting 9 years costs about USD 1.44 per ft² per year. The second option is more expensive upfront but cheaper over time.
Lifecycle logic should consider:
- Expected wear rate
- Chemical exposure pattern
- Cleaning intensity
- Sunlight exposure
- Repairability
- Topcoat renewal interval
- Downtime for maintenance
For many industrial floors, a balanced specification is not the thickest system possible, but the system that meets service conditions with the lowest annualized risk.
How to compare bids fairly
Buyers should request enough detail to make quotations technically comparable. Without that, one price may refer to a thin coating and another to a buildable industrial system.
Ask each bidder or manufacturer to state:
- Surface preparation method and target profile
- Moisture testing method and acceptance limits
- Primer type and coverage
- Total system thickness by layer
- Bodycoat or mortar composition
- Topcoat type and expected performance
- Traffic return times for foot, pallet, and vehicle loads
- TDS and SDS documents
- Chemical resistance and abrasion data where relevant
- Adhesion expectations or pull-off test criteria
- Warranty boundaries and exclusions
- Sample panel availability
When comparing quotations, normalize them into the same unit basis, such as installed USD per m² at stated thickness and stated prep scope. That reduces confusion and exposes where one bid is simply missing critical work.
Sample cost scenarios with assumptions
| Project type | Likely system | Indicative installed cost | Main assumptions |
|---|---|---|---|
| Residential garage | Flake epoxy with clear sealer | USD 5-9 per ft² | Moderate prep, decorative finish, small area inefficiency |
| Retail showroom | Self-leveling epoxy with clear topcoat | USD 6-11 per ft² | Smoother appearance, good lighting aesthetics, moderate traffic |
| Light-duty commercial backroom | Thin-film or bodycoat epoxy | USD 3-7 per ft² | Functional finish, limited chemical exposure |
| Heavy-duty warehouse | Self-leveling or mortar-grade system | USD 8-16 per ft² | Forklift traffic, stronger prep and wear demand |
| Food or chemical process area | Broadcast or chemical-resistant system with upgraded topcoat | USD 12-25+ per ft² | Higher prep, chemical resistance, texture and hygiene needs |
These examples are only budgeting references, but they help procurement teams set realistic target bands before tendering.
A simple installed cost calculator
To estimate epoxy resin flooring cost more consistently, gather these inputs:
- Total floor area
- System type
- Target thickness
- Substrate condition grade
- Moisture condition
- Primer and topcoat type
- Regional labor rate
- Access complexity
- Traffic return schedule
- Waste factor
A simple formula can be used:
Total installed cost = material cost + preparation cost + repair cost + labor cost + logistics/schedule premium
Worked example: a 1,000 m² warehouse needs a 2 mm self-leveling system. If materials average USD 18-28 per m², preparation USD 12-25 per m², repair allowance USD 3-10 per m², labor USD 20-35 per m², and logistics USD 2-6 per m², the installed budget may land near USD 55-104 per m². If moisture mitigation is added, the range may rise meaningfully.
Cost-saving strategies that do not undermine performance
There are sensible ways to reduce cost without creating future failure risk.
- Right-size thickness to actual traffic and impact loads
- Use heavier systems only in critical lanes or process zones
- Repair and isolate defects early instead of coating over them
- Stage installation to reduce shutdown premiums
- Choose a topcoat based on actual wear and chemical exposure, not habit
- Use manufacturer technical support to optimize build layers and aggregate loading
In many projects, selective reinforcement in turning areas, loading points, or wet process zones is more economical than overbuilding the entire floor.
Questions procurement teams should ask manufacturers
Decision-makers evaluating systems and suppliers should move beyond price and ask practical technical questions:
- What resin chemistry is proposed for this exposure profile?
- What is the nominal installed thickness of each layer?
- What substrate moisture limits apply?
- How sensitive is the system to temperature and humidity during cure?
- What is the expected pot life and working time on site?
- Can the primer, bodycoat, and topcoat be supplied as a tested system?
- What shelf life and storage conditions apply?
- Can custom formulation adjustments be made for slip resistance, cure speed, or chemical exposure?
- What quality control documentation is available?
- Is on-site technical guidance available for large or sensitive projects?
These questions help separate a complete flooring system from a low-detail commodity quote.
Contract and acceptance tips
Good contracts define inspection points before work starts. This protects both buyer and installer and makes acceptance less subjective.
Useful contract checkpoints include:
- Documented substrate condition before installation
- Moisture test results and acceptance criteria
- Agreed preparation method
- Layer-by-layer application sequence
- Target thickness checks
- Cure verification before traffic release
- Punch-list and repair procedure
- Payment milestones tied to measurable progress
Where performance risk is high, sample panels and mock-up zones are often worth the extra time and cost.
Maintenance and recurring budget planning
Maintenance cost is usually lower for a properly specified epoxy floor than for a poorly matched one. Buyers should still budget for cleaning, scratch management, joint repairs, and eventual topcoat renewal where needed.
Practical maintenance planning should include:
- Routine cleaning method matched to surface texture
- Prompt repair of isolated chips or gouges
- Periodic review of high-turn traffic zones
- Recoating intervals for appearance-critical areas
- Chemical spill response rules
A floor that is easy to clean and repair may offer better real-world value than one that looked cheaper at installation but degrades quickly.
Quick decision checklist for buyers
- Define the traffic, impact, chemical, and cleaning profile clearly
- Set minimum preparation and moisture testing requirements
- Specify total system thickness, not just a product name
- Request comparable quotations with stated inclusions and exclusions
- Review primer and topcoat choices carefully
- Ask for technical documents and realistic cure windows
- Evaluate annualized cost, not only first cost
- Use sample panels where appearance or texture matters
Conclusion
Epoxy resin flooring cost should be treated as a specification question before it becomes a procurement number. The installed price depends on substrate condition, thickness, moisture risk, labor conditions, topcoat choice, and expected service life. Buyers who compare bids by complete scope, layer build, and failure risk usually make better decisions than those who compare only the lowest unit rate. From our manufacturer perspective, realistic budgeting starts with defining the duty profile, setting a minimum technical standard, and asking suppliers to quote the same performance target.
FAQ
Is epoxy flooring cheaper than polyurethane flooring?
Epoxy systems are often lower in first cost than polyurethane systems, but the better value depends on use conditions. If the floor needs stronger UV stability, scratch retention, or frequent chemical cleaning, a polyurethane topcoat or PU-based system may lower maintenance and replacement cost over time.
Do I always need a primer under epoxy flooring?
No, but in most concrete flooring projects a primer is strongly recommended because it improves wetting, adhesion, and consistency over porous or variable substrates. Skipping primer may save money on paper but can increase the chance of pinholes, bond loss, and uneven absorption.
How soon can traffic return after epoxy floor installation?
Return-to-service time depends on resin chemistry, temperature, humidity, layer thickness, and whether the floor receives only foot traffic or heavier loads. Light foot traffic may be possible in about 12-24 hours for some systems, while pallet trucks, forklifts, or chemical exposure often require a longer cure window.
What is the biggest hidden cost in epoxy flooring projects?
Substrate preparation is usually the biggest hidden cost because weak concrete, contamination, cracking, and moisture problems can add major labor and repair scope. Many low bids look attractive only because they assume the slab is in better condition than it really is.
How can I compare epoxy flooring bids fairly?
Compare bids by preparation method, total thickness, primer type, topcoat type, moisture assumptions, cure time, and included repairs rather than by price alone. If two quotations do not describe the same system build and site scope, they are not true comparables.
What thickness should I specify for epoxy resin flooring?
The right thickness depends on traffic, impact, substrate condition, hygiene needs, and chemical exposure. Thin coatings may work for light-duty areas, while self-leveling, broadcast, or mortar systems are more suitable where durability and longer service life justify the higher installed cost.
Related Reading
- Manufacturer’s selection guide for epoxy resin on concrete floors
- complete guide to resinous flooring systems and uses
- when epoxy resin flooring is the right choice for industrial and commercial floors
- compare resin flooring vs epoxy flooring to choose the best system
- practical thickness guide for waterproof and resin coatings